White-Label Emails let you send report emails from your own address, such as reports@acme.com, instead of the default PushMetrics sender. PushMetrics verifies your domain (or a single email address) through AWS SES, sets up DKIM authentication, and gives you the SPF and DMARC records to publish. As a result, your emails are properly authenticated and land in the inbox rather than the spam folder.
Verification is fully self-service. You add a domain, publish a few DNS records, and PushMetrics polls AWS until the domain is verified. There is no support ticket to file.

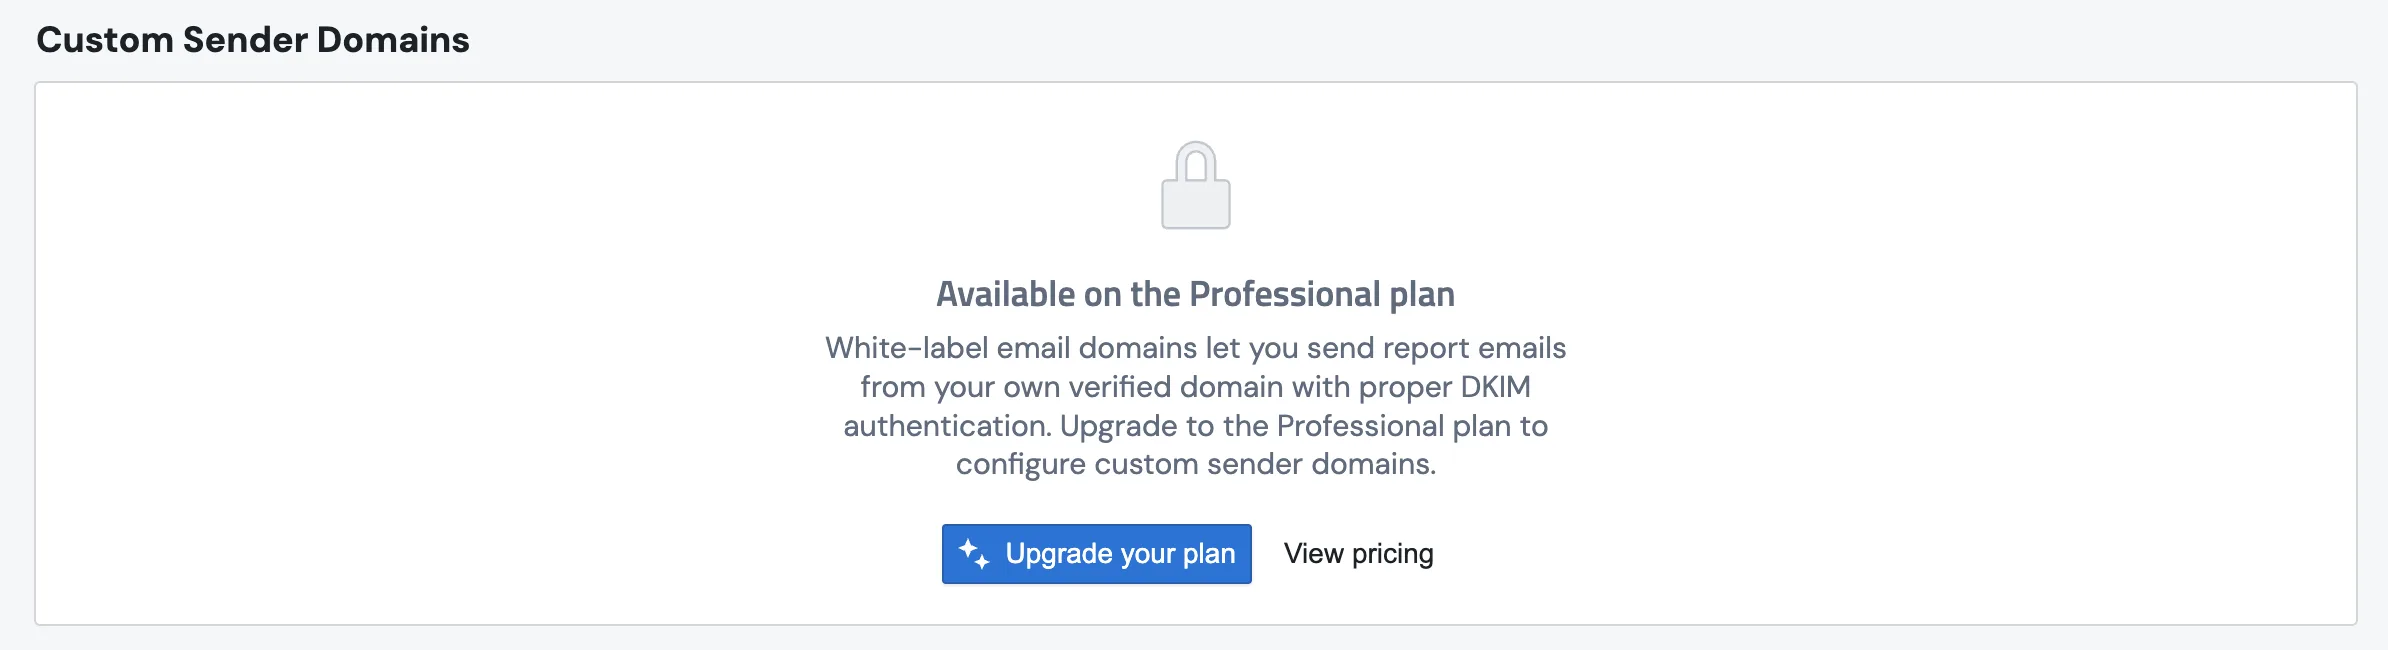
Plan requirement. White-Label Emails are available on the Professional plan (or during an active trial). On other plans the section shows a locked card with an upgrade prompt.
Why use White-Label Emails?
- White-labeled emails. Recipients see your domain in the From address, not PushMetrics.
- Better deliverability. DKIM, SPF alignment through a custom MAIL FROM, and DMARC all tell receiving servers that your mail is legitimate.
- Brand trust. A recognizable sender address reduces the chance of reports being ignored or flagged.
White-Label Emails vs. SMTP integration
PushMetrics offers two ways to control the sender address:
- White-Label Emails (this page). PushMetrics sends through its own AWS SES infrastructure on your behalf. You only publish DNS records, and there are no SMTP credentials to manage. This is the recommended option for most workspaces.
- SMTP Server Integration. You connect your own mail server and PushMetrics relays through it. Use this if you must send from your own infrastructure.
Senders you previously configured under Email Configuration / SMTP keep working unchanged. They appear here as read-only Legacy rows, and you can optionally Migrate them to manage DKIM and DNS (see Migrating legacy senders).
Before you start
You will need:
- A Professional plan (or an active trial).
- Workspace admin rights. Non-admins see the list as read-only.
- Access to your domain's DNS (for example Route 53, Cloudflare, or GoDaddy) to publish the records, or access to the mailbox if you verify a single email address.
Add and verify a domain
- Go to Account Settings and find the White-Label Emails card.
- Click Add domain.
- In the dialog, choose what to verify:
- Whole domain (for example
acme.com) verifies any address on the domain and gives you DKIM DNS records to publish. This is the recommended choice. - Single email address (for example
reports@acme.com) prompts AWS to send a one-click verification email to that address. It is faster to set up, but only that one address can send.
- Whole domain (for example
- Optionally, set the Custom MAIL FROM subdomain. This is the Return-Path subdomain that SES uses. The default is
pmail, which producespmail.acme.com, and it improves SPF alignment. If a MAIL FROM is already configured in AWS for this identity, that existing value is kept instead. - Click Add.
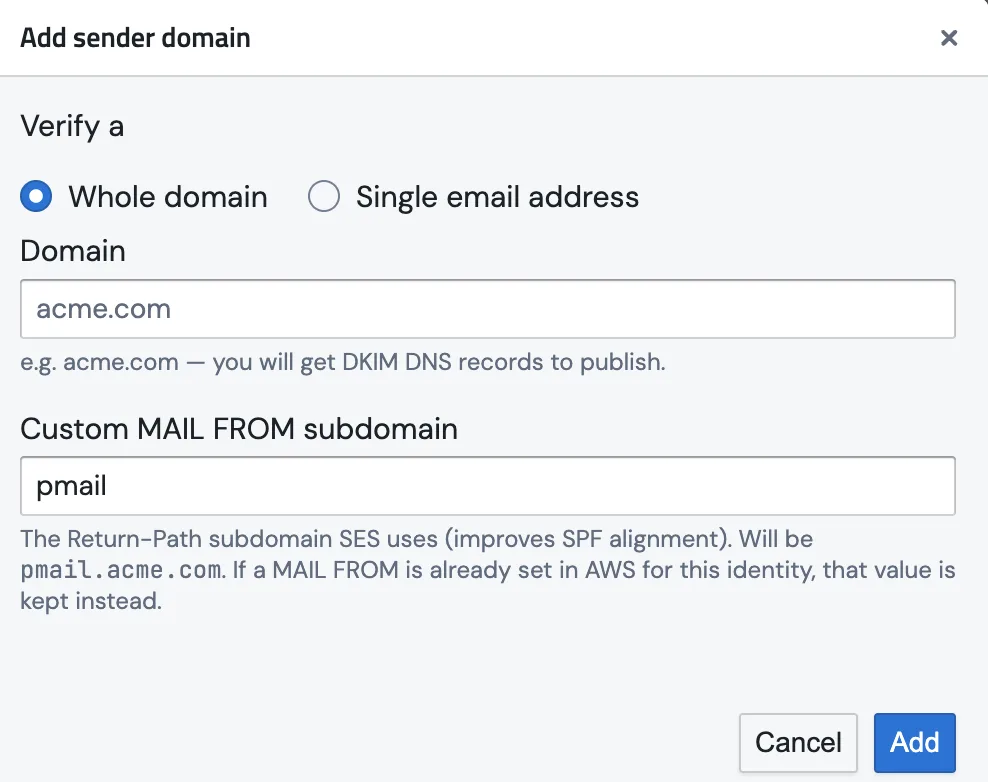
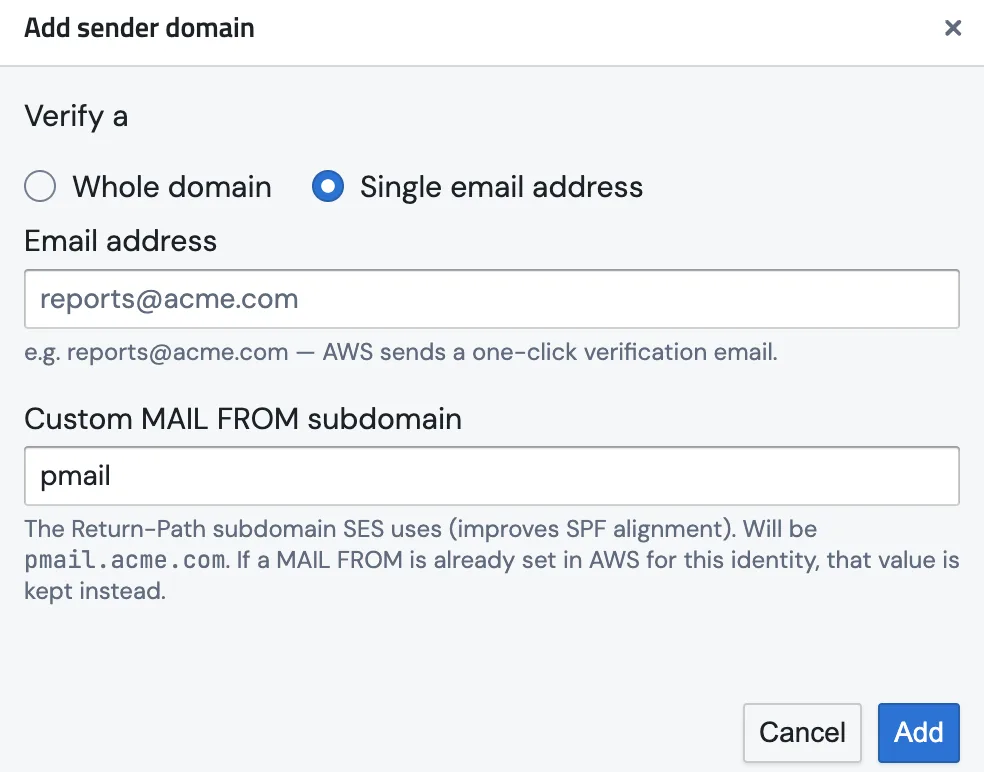
To verify a single address instead, switch the Verify a toggle to Single email address. AWS then sends a one-click verification email to that mailbox.
Publish the DNS records
After adding a domain, expand DNS records on the new row. Records are grouped with plain-language explanations:
| Group | Required? | What it does |
|---|---|---|
| DKIM authentication | Required | Three CNAME records that prove you own the domain and cryptographically sign every email. The domain stays Pending until these are detected. |
| Custom MAIL FROM | Recommended | Sets the hidden Return-Path to your own subdomain instead of amazonses.com, which aligns SPF and white-labels the envelope. Sending still works before you publish these, since it falls back to the default. |
| DMARC policy | Optional | A TXT record that tells receivers what to do with mail that fails SPF or DKIM. Start with p=none (monitor only) and tighten to quarantine or reject once you have confirmed your mail passes. |
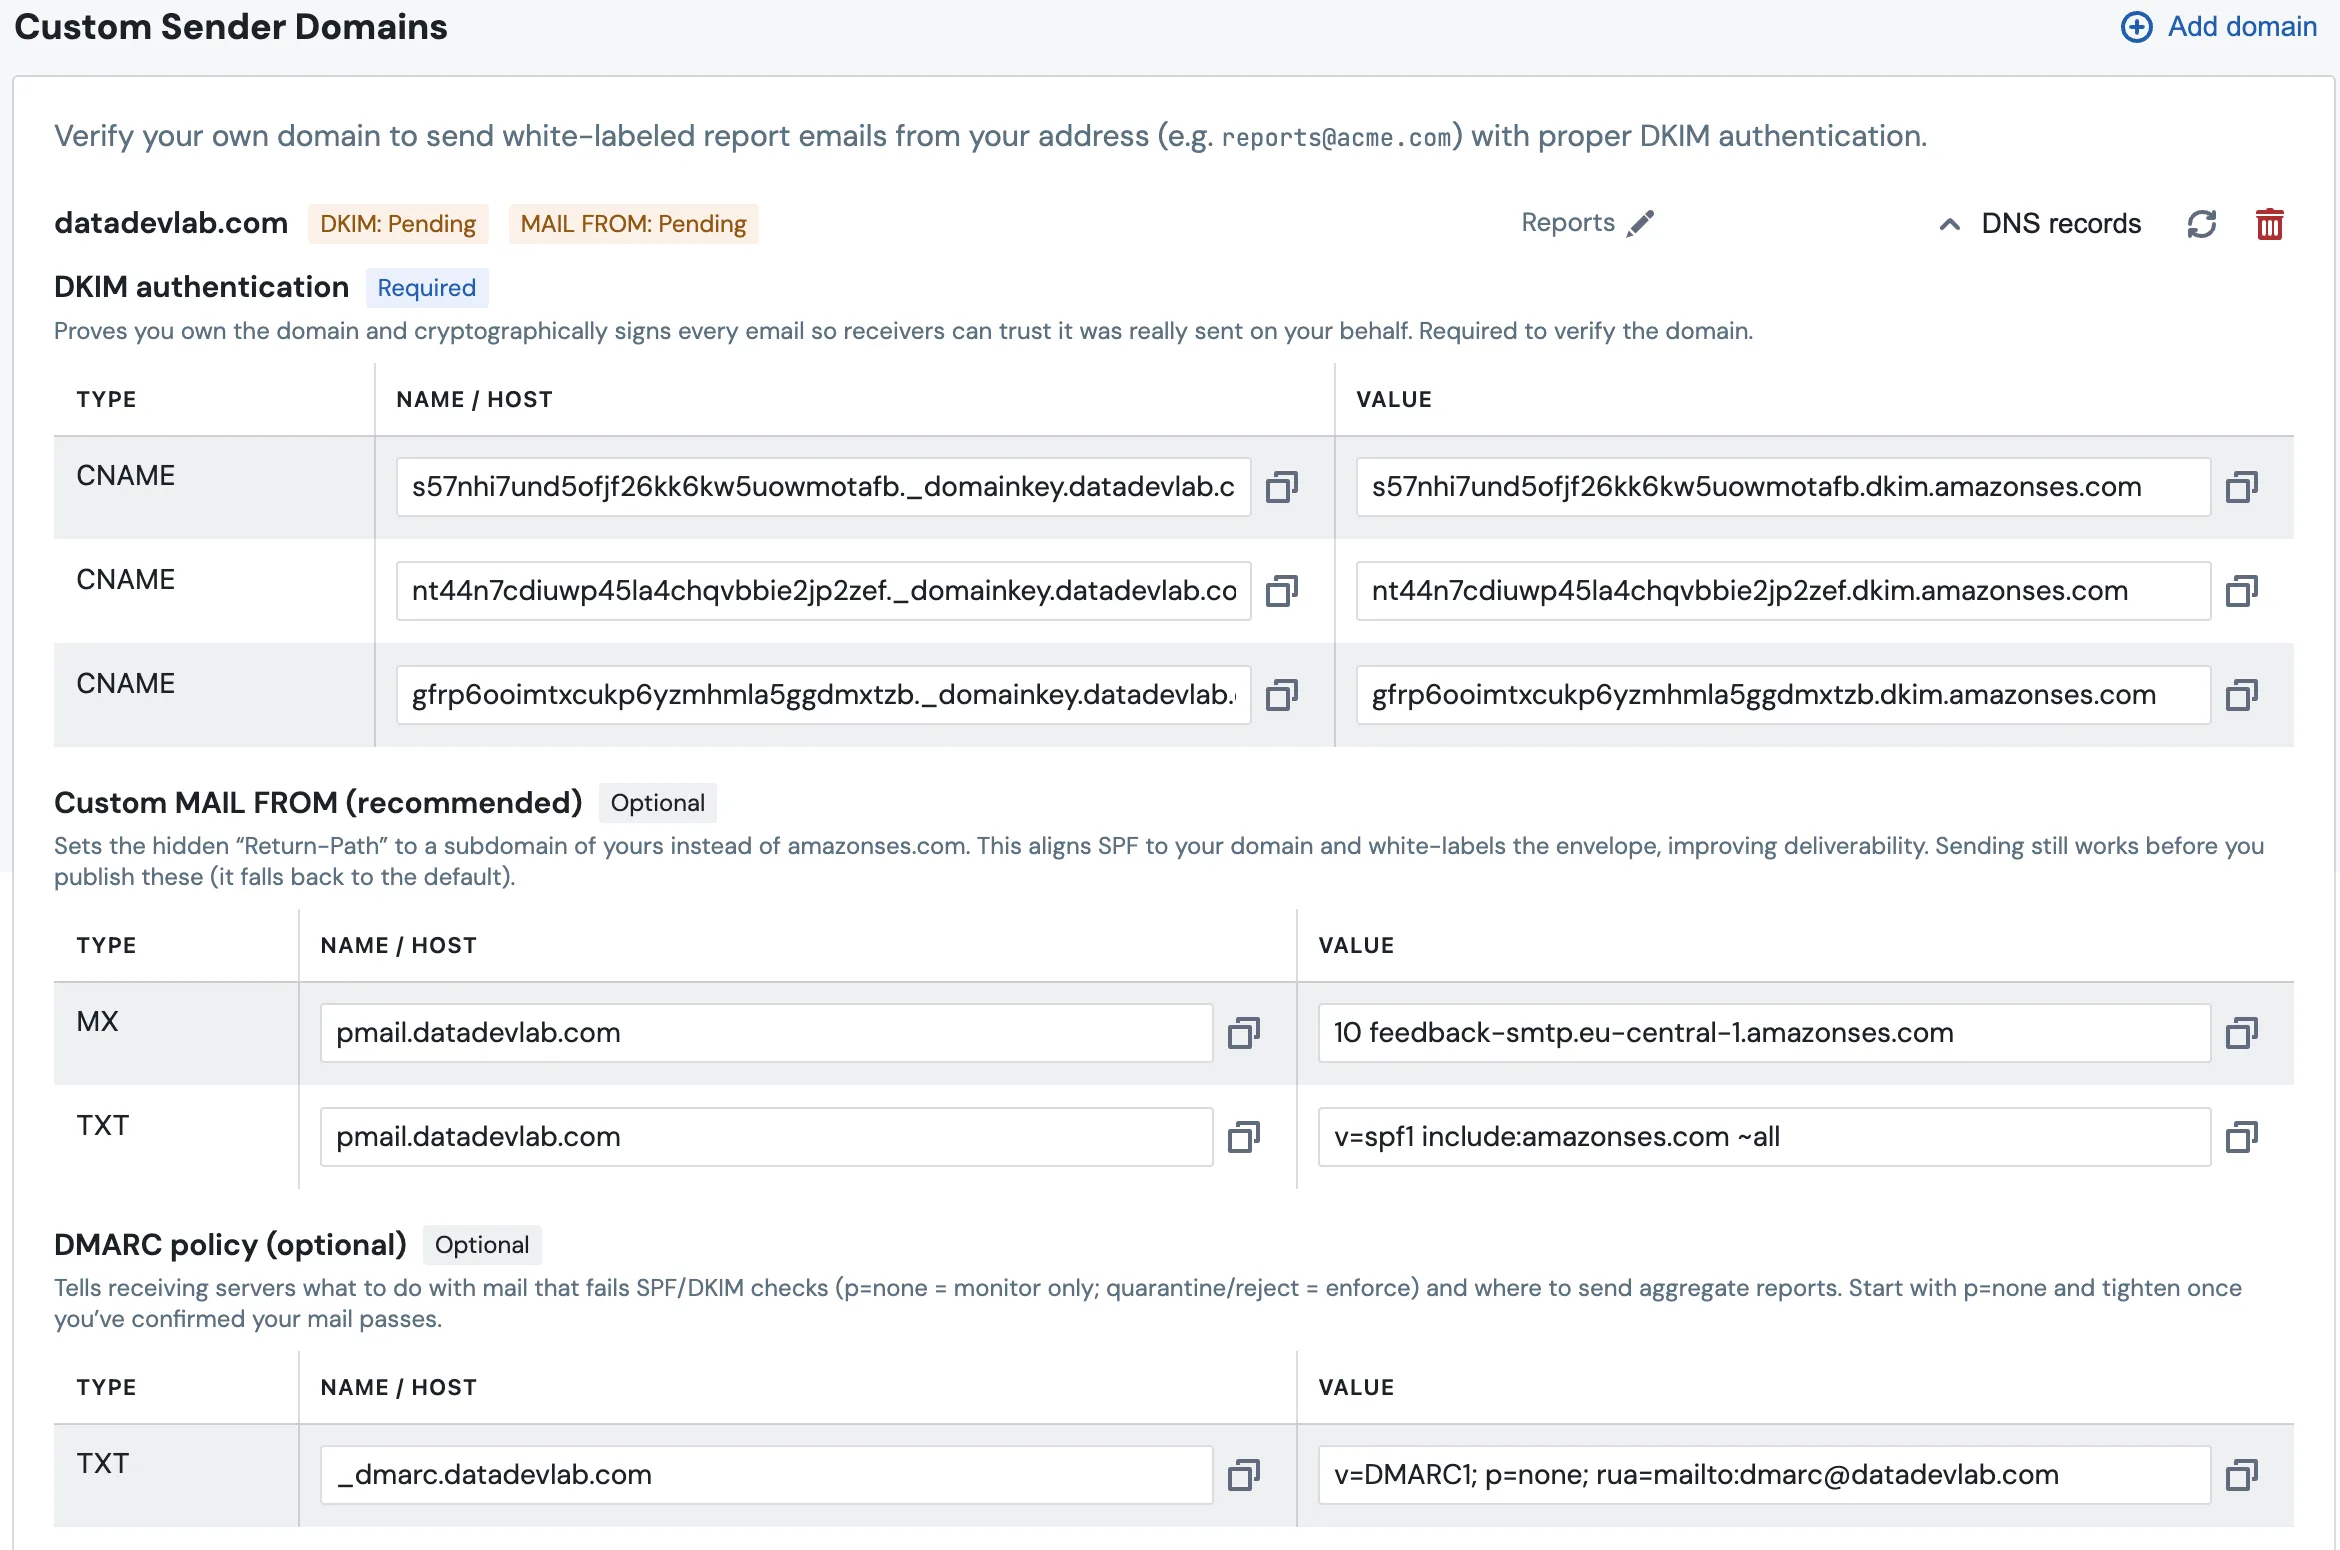
Each record value has a copy button. Publish them in your DNS provider exactly as shown, so that the Name / Host and Value both match.
DNS changes can take anywhere from a few minutes to several hours to propagate, depending on your provider and TTL.
Check verification status
PushMetrics polls AWS automatically in the background, so domains usually flip to Verified on their own once DNS propagates. To check immediately, click the refresh (↻) icon on the row. Status tags show:
- DKIM: Pending / Verified / Failed shows domain ownership and DKIM signing.
- MAIL FROM: Not configured / Pending / Verified shows the custom Return-Path status.
Once everything checks out, both tags turn green:

For a single email address, check that inbox and click the AWS verification link, then refresh. DKIM is inherited from the parent domain if that domain is also verified.
Resend the verification email
If the verification email never arrived, or it expired before anyone clicked the link, you can send a fresh one. While a single email-address identity is still Pending, the row shows a Resend verification email button along with a Last sent timestamp so you know when the most recent email went out. Click it to have AWS deliver a new verification email, then open the inbox and click the link.

A few things to keep in mind:
- The button appears only for single email-address identities. Whole domains are verified through their DNS records, so they have no verification email to resend.
- It is hidden once the identity is Verified, since there is nothing left to confirm.
- AWS verification links expire 24 hours after they are issued. If yours has lapsed, resend the email to get a fresh link.
Set the sender name
Each verified identity has an editable Sender name, the friendly display name shown next to the address (for example Acme Reports <reports@acme.com>). Click the inline field on the row to edit it, and it saves automatically.

Sending from your verified domain
Once a domain is verified, set the From address on any Email block in your reports to an address on that domain. At send time PushMetrics checks the From address against your verified senders:
- If the address belongs to a verified domain (or is a verified single address), the email is sent from it.
- If the address is not verified, PushMetrics falls back to the default sender rather than failing, and logs a warning. This prevents both delivery failures and spoofing.
Addresses you had already configured before this feature shipped are grandfathered in and continue to work without re-verification.
Migrating legacy senders
Senders you configured under the older Email Configuration / SMTP Server Integration flow appear here as read-only rows tagged Legacy. They keep working exactly as before, and no action is required.
If you want to manage DKIM, set a custom MAIL FROM, and see the DNS records for one, click Migrate on the row to adopt it into a managed identity. Migration never overwrites an existing AWS configuration. It adopts what is already there, so the sender keeps working throughout. The Migrate button only appears on legacy rows. Identities you added with Add domain are already managed and do not show it.
Why you may not see any Legacy rows. Legacy rows only appear when a workspace already has a sender configured under the old Email Configuration / SMTP flow that has not been migrated. Workspaces that only ever used Add domain here will not have any.
Removing a sender
Click the trash icon on a managed row to remove it. You will be asked to confirm. After removal, reports can no longer send from that address, and they fall back to the default sender. Legacy rows cannot be deleted from this screen.
Troubleshooting
- Domain stuck on Pending. Confirm that all three DKIM
CNAMErecords are published with the exact Name and Value, and with no extra characters. Check again after DNS propagates, then click refresh. - MAIL FROM shows Pending. Publish the MX and SPF (
TXT) records from the Custom MAIL FROM group. Sending still works in the meantime. - Single-address identity will not verify. Make sure you clicked the link in the AWS verification email sent to that exact mailbox, then refresh. If the email is missing or the link has expired, use Resend verification email on the row to get a fresh one.
- "Already registered in another workspace". A domain can only be claimed by one workspace. Contact support if you believe this is in error.
- Section is locked. White-Label Emails require the Professional plan or an active trial.