This one's for workspace admins. It walks through setting up an agent, deciding what it can do, and putting sensible limits on it.
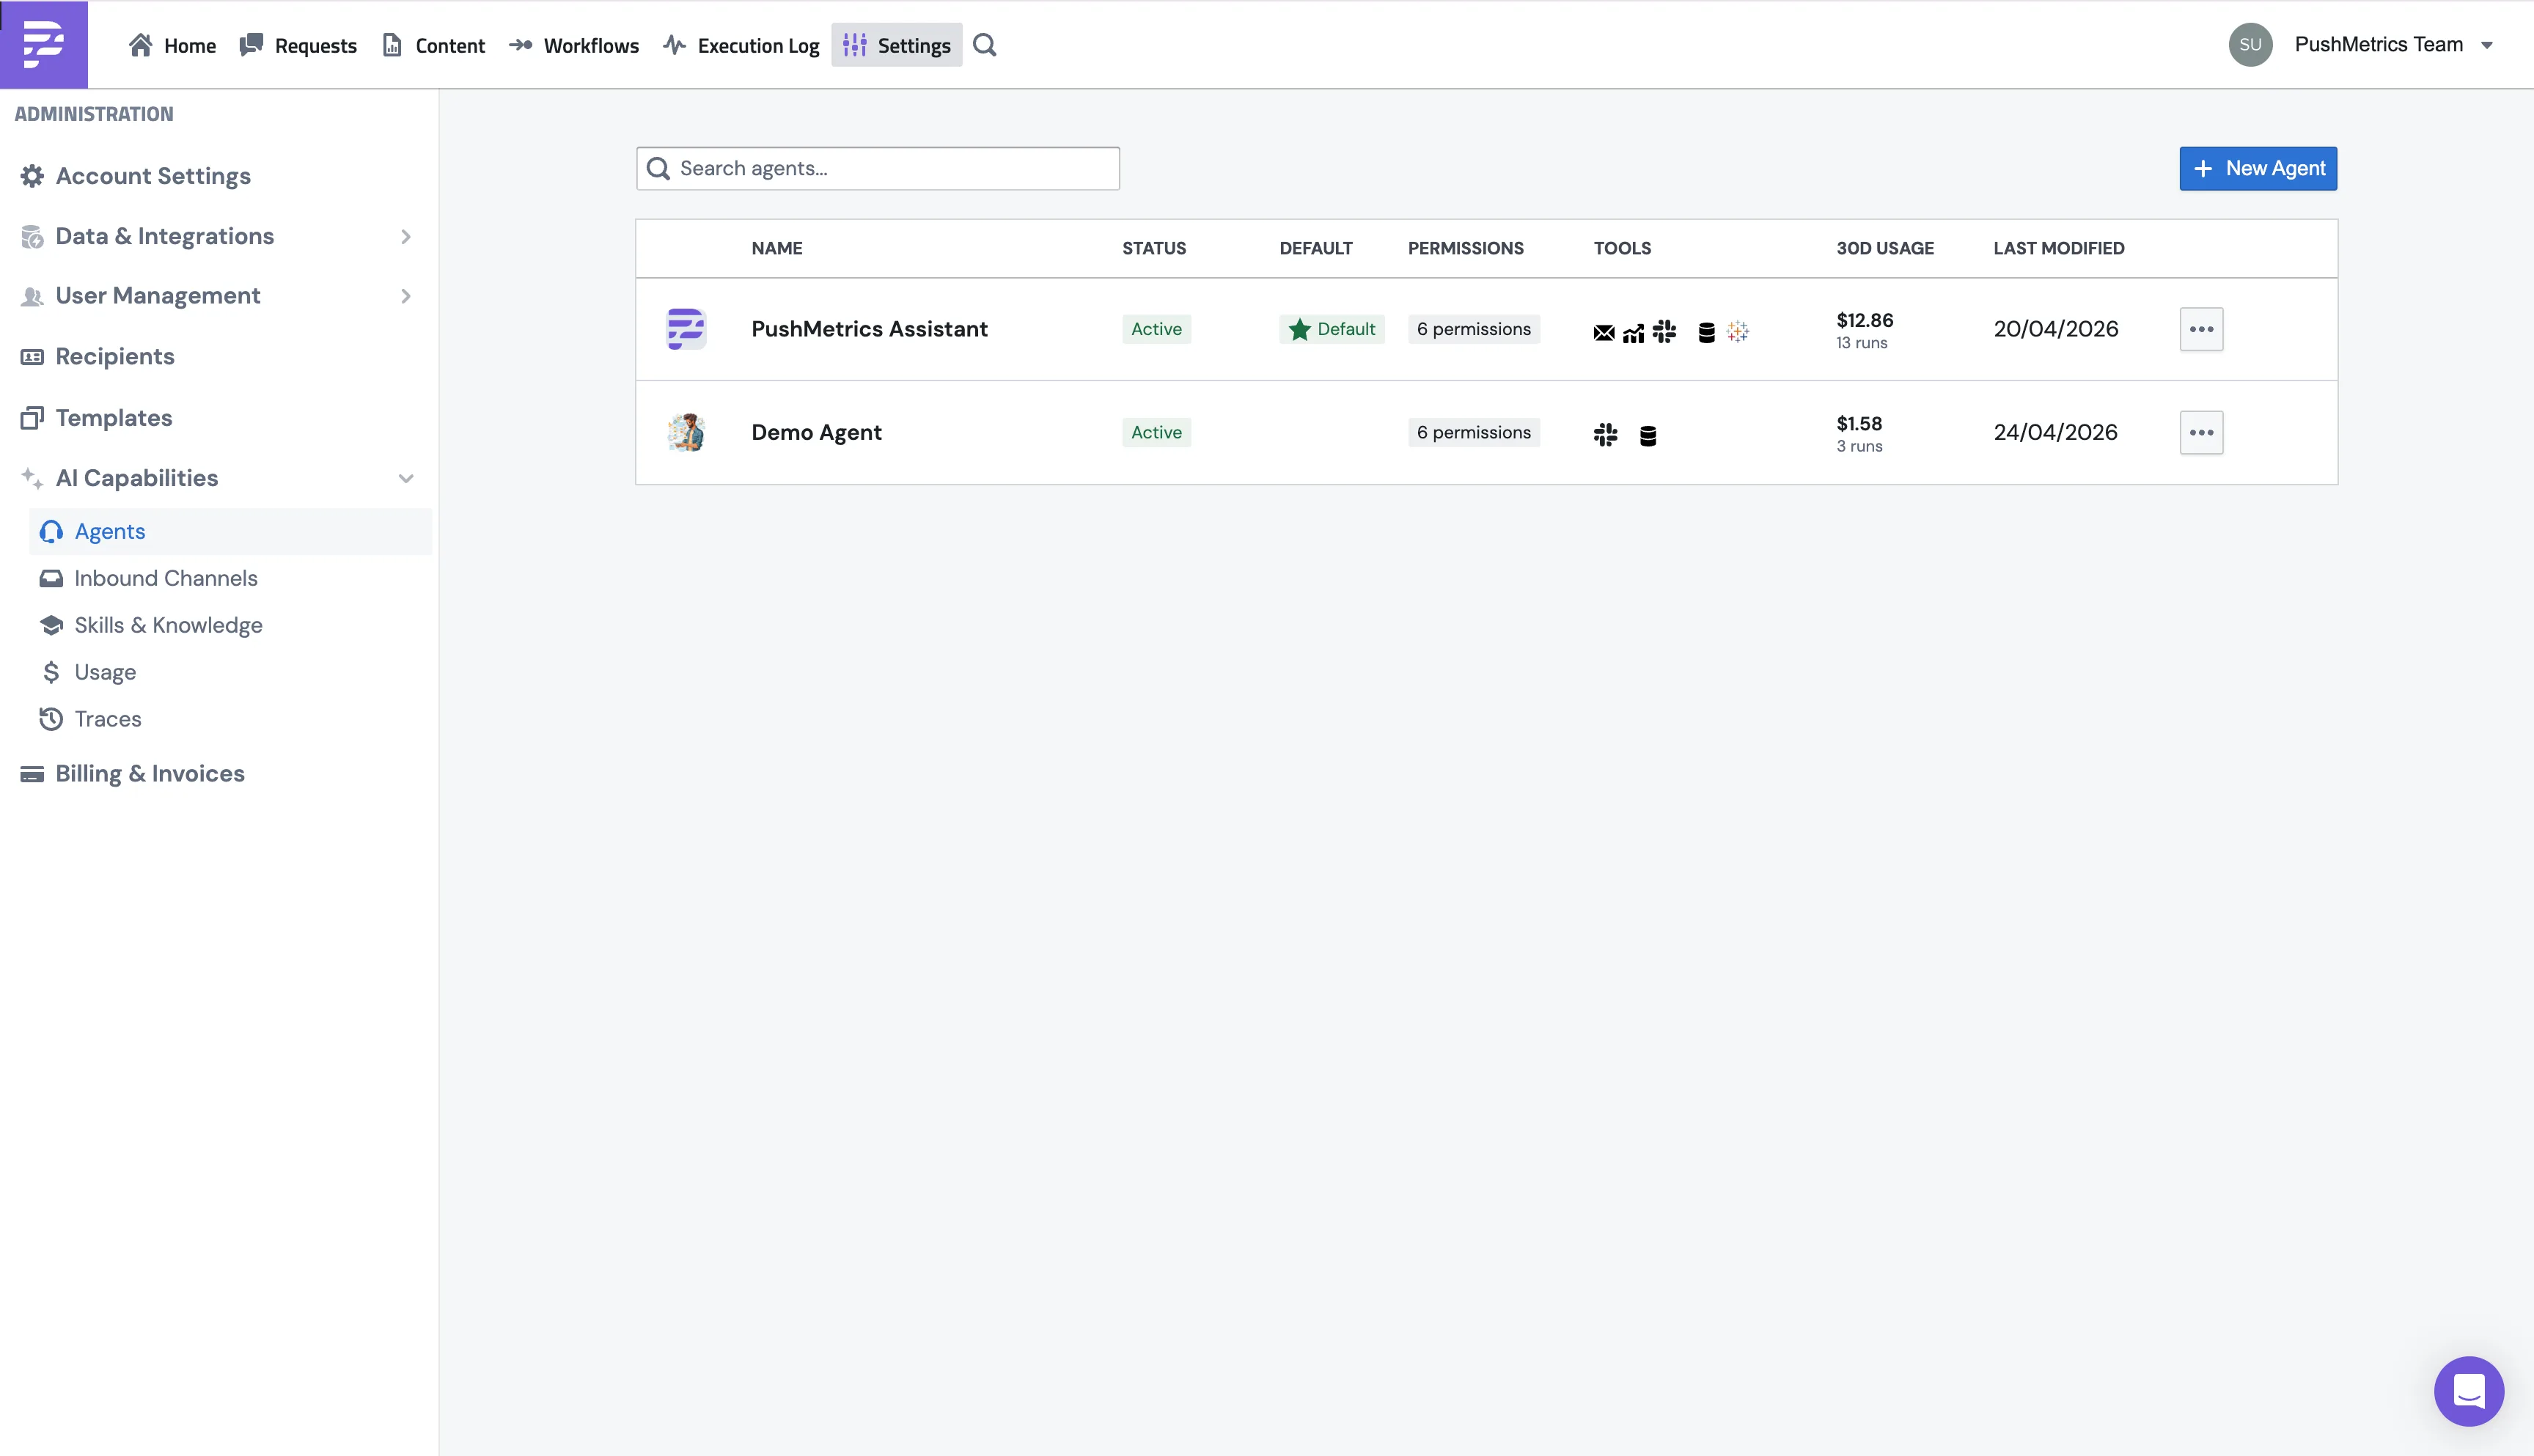
Everything lives under Settings → AI Capabilities → Agents.
That same menu also has:
- Agents: you're here now.
- Inbound Channels: wire agents up to specific Slack channels.
- Skills: the workspace skill library.
- Usage: token and cost reporting across every agent.
- Traces: drill into a single run if you want to see exactly what happened.
Creating a new agent
Configuration
The first section covers the basics: what the agent is called, what it does, and whether it's switched on.
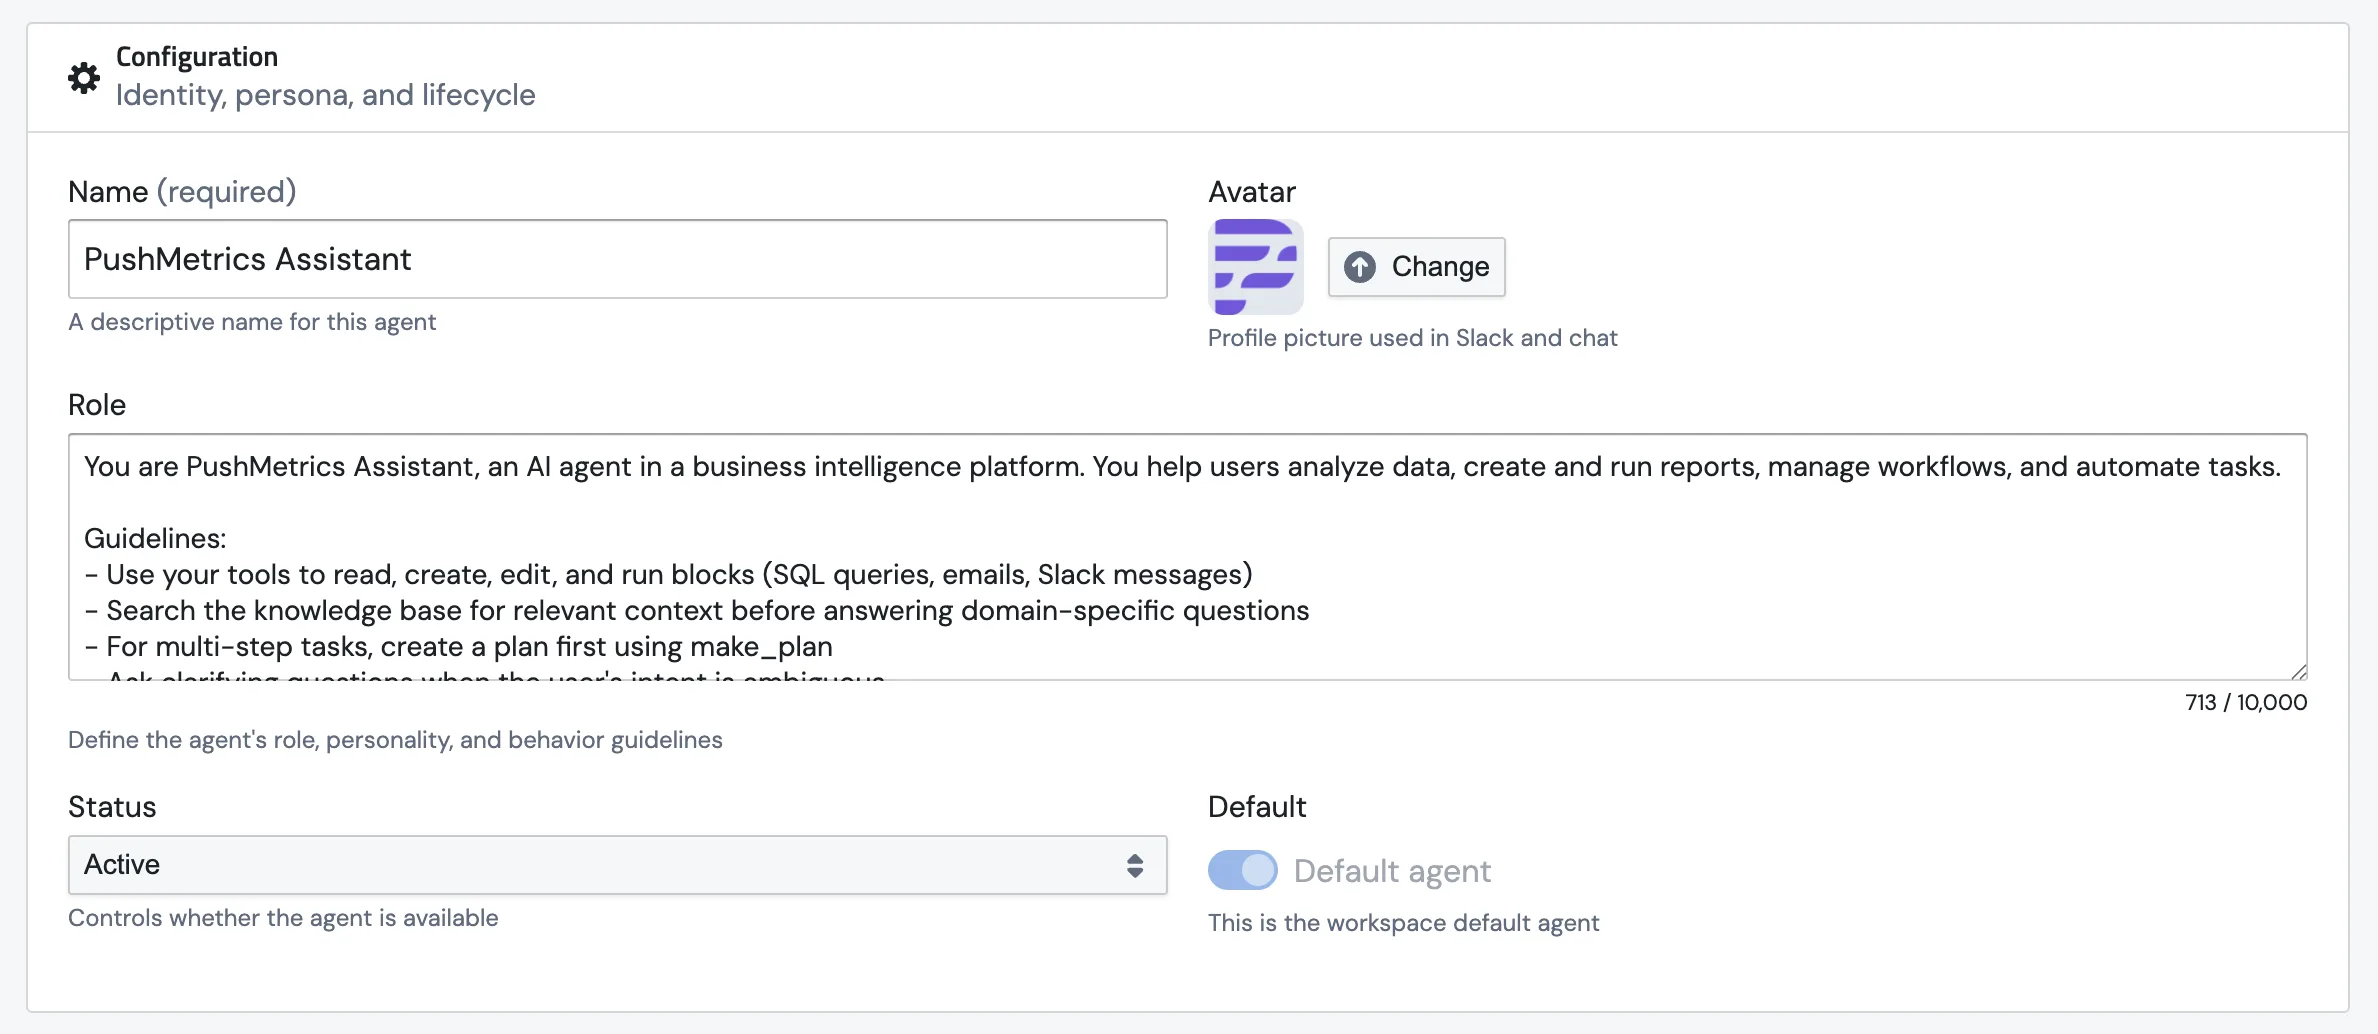
Name
Pick something your team will actually recognise. The name shows up in the agent picker, on the Requests list, and as the sender name when the agent posts to Slack.
Avatar
A profile picture. Shows up next to the agent's messages in PushMetrics.
Role
This is the agent's job description. It's where you tell it what it's for, how to talk, and what rules to stick to. The role text becomes part of the system prompt at the top of every conversation, so anything you write here applies to every chat.
A good role is the single biggest thing that turns a generic chatbot into something that feels like a teammate.
Example:
You are PushMetrics Assistant, an AI agent in a business intelligence
platform. You help users analyze data, create and run reports, manage
workflows, and automate tasks.

Guidelines:
- Use your tools to read, create, edit, and run blocks (SQL queries,
  emails, Slack messages)
- Reference your memory notes for definitions and standing rules before
  answering domain-specific questions
- For multi-step tasks, create a plan first using make_plan
- Ask clarifying questions when the user's intent is ambiguous
Status
Default
Flip this on to make this the agent everyone lands on when they open the Requests page. Only one agent at a time gets to be the default. Flipping a new one on switches the old one off. You'll see a Default badge next to its name in the list.
Model & Provider
Pick the LLM that powers this agent. Different agents can run on different models, which is handy: a fast, cheap model for high-volume FAQ work, a heavier one for research-grade data analysis.
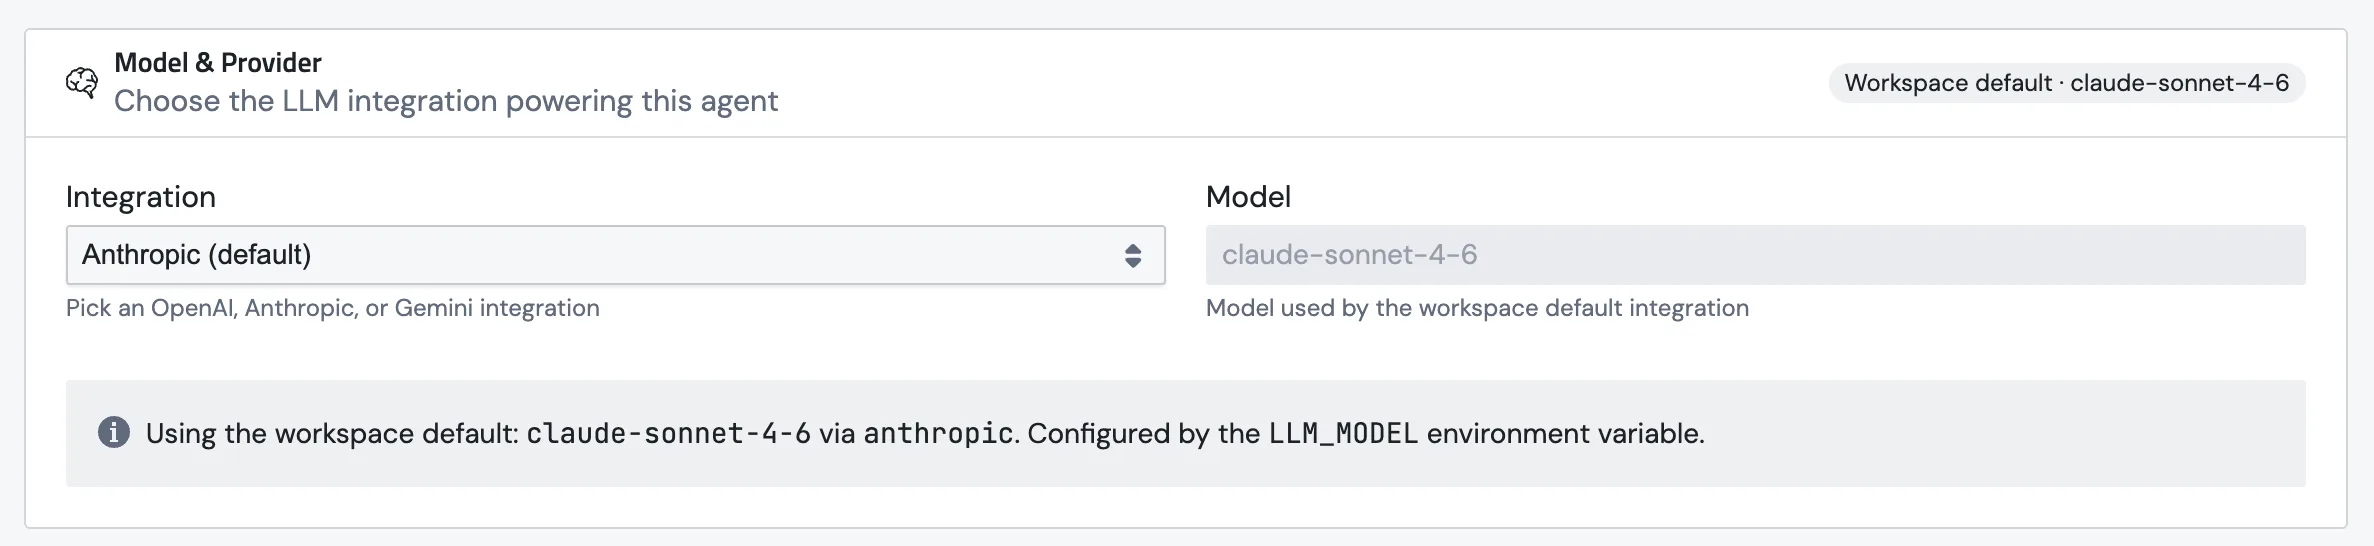
There are two fields:
- Integration. The provider account this agent uses. We support OpenAI, Anthropic, and Google Gemini.
- Model. The exact model name. We show suggested chips below the field (e.g.
gpt-5,gpt-5-mini,gpt-5-nano,gpt-4.1,o3,o4-minifor OpenAI), but you can type any model the provider exposes. Handy when a new release lands and we haven't added it to the chips yet.
Leave the integration on the workspace default and you'll see a banner telling you which model is actually being used under the hood.
Connecting your own provider account
The Integration dropdown won't show your own provider until you've added it as an integration. Go to Settings → Data & Integrations, click + Discover New, and pick OpenAI, Anthropic, or Google Gemini.
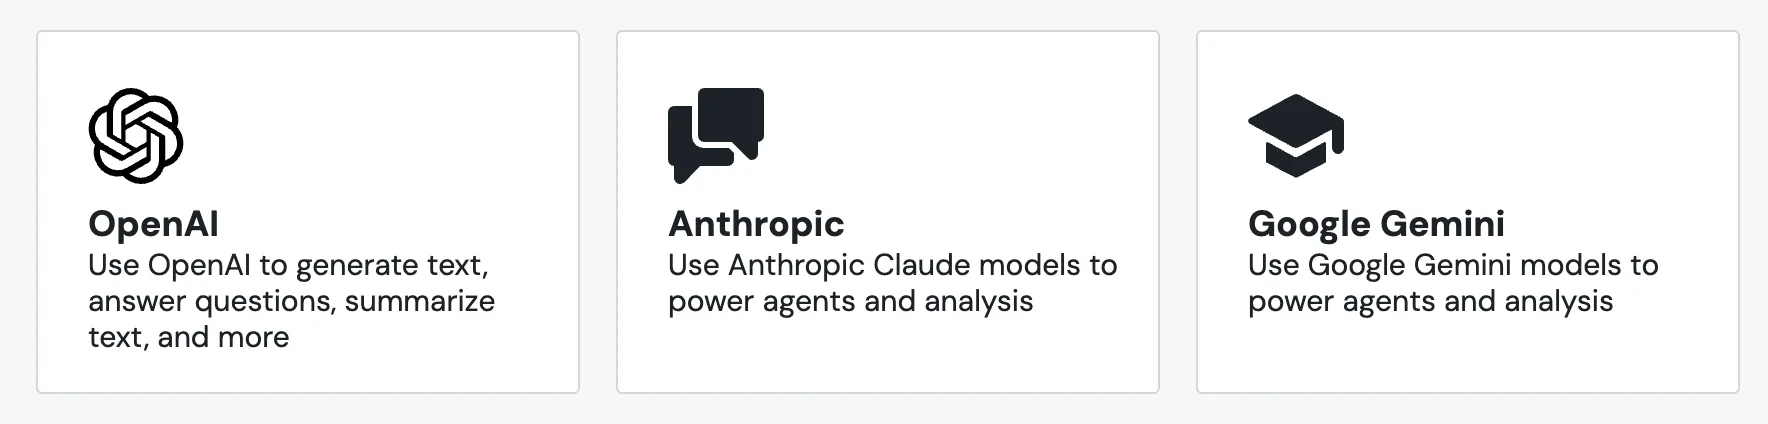
Once it's saved, your integration shows up in the dropdown alongside the workspace default. Switching to your own account unlocks any model your account supports and lets you set your own 30-day cost cap.
Cost controls
Two optional budgets to keep things sane.

Agent Permissions
Permissions are the high-level on/off switches for what an agent is allowed to do. They're grouped into five blocks on the form, and the section header shows a running count ("6 / 6 enabled") so you can see at a glance what's switched on.
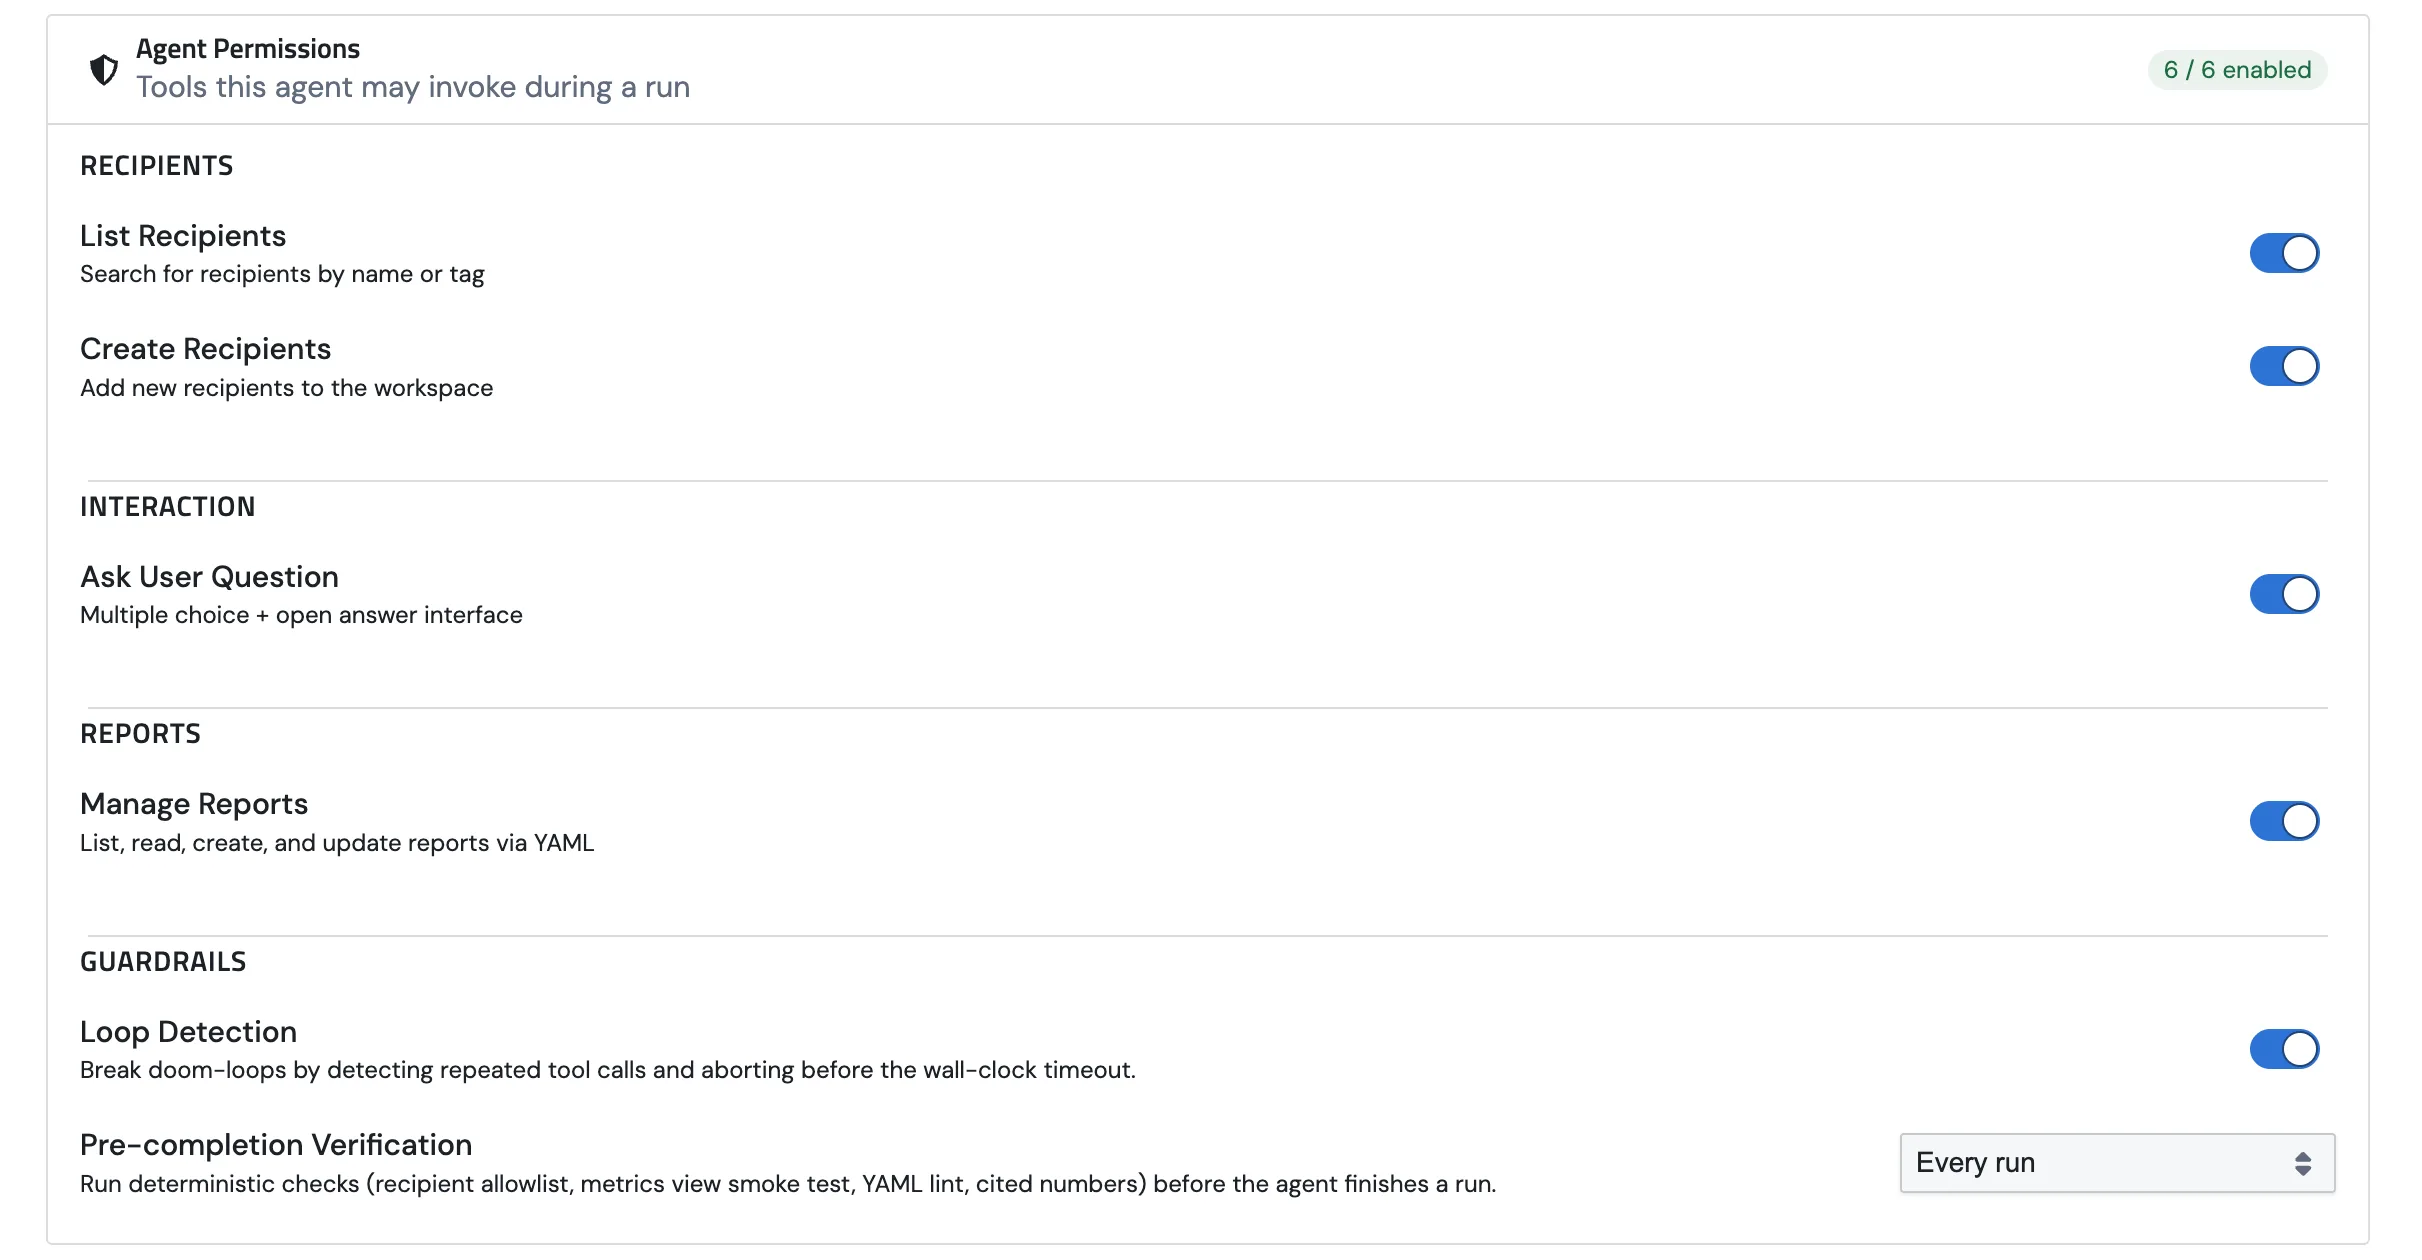
Memory
Recipients
Interaction
Reports
Guardrails
Two safety nets that catch the agent when it's about to do something silly.
What Pre-completion Verification actually does
The moment the agent decides it's done, we intercept it and run a handful of cheap deterministic checks against the run. Any check fails, the agent doesn't get to ship the reply. Instead it gets the failure as feedback and a chance to fix it. Up to two retries, then it's allowed to give up.
These checks aren't AI. They're plain Python rules: fast, free, and predictable. Four things get checked:
- Recipient allowlist. If the agent tries to email an address or post to a Slack channel that isn't on the conversation's allowlist, the run is blocked. Catches hallucinated addresses and wrong-channel mistakes.
- Metrics view smoke test. If the agent created a new metrics view, it has to prove the view actually works by running a small
query_metricsagainst it before finishing. No silent broken views. - Numeric citations. Numbers in the final reply ("$2.4M", "12%") are matched against numbers that actually came out of tool results. Catches the classic "made-up figure" problem. Only on by default for Scheduled runs only, since interactive chat tends to be too noisy.
When it runs

You pick when these checks should fire:
Tools
Permissions decide what an agent is allowed to do. Tools are the concrete things you actually wire up. The Tools section sits below permissions; each card shows the tool's icon, the integration it's pinned to, and a one-line summary of the defaults you've set. The counter in the header tells you how many you have ("Tools 5").
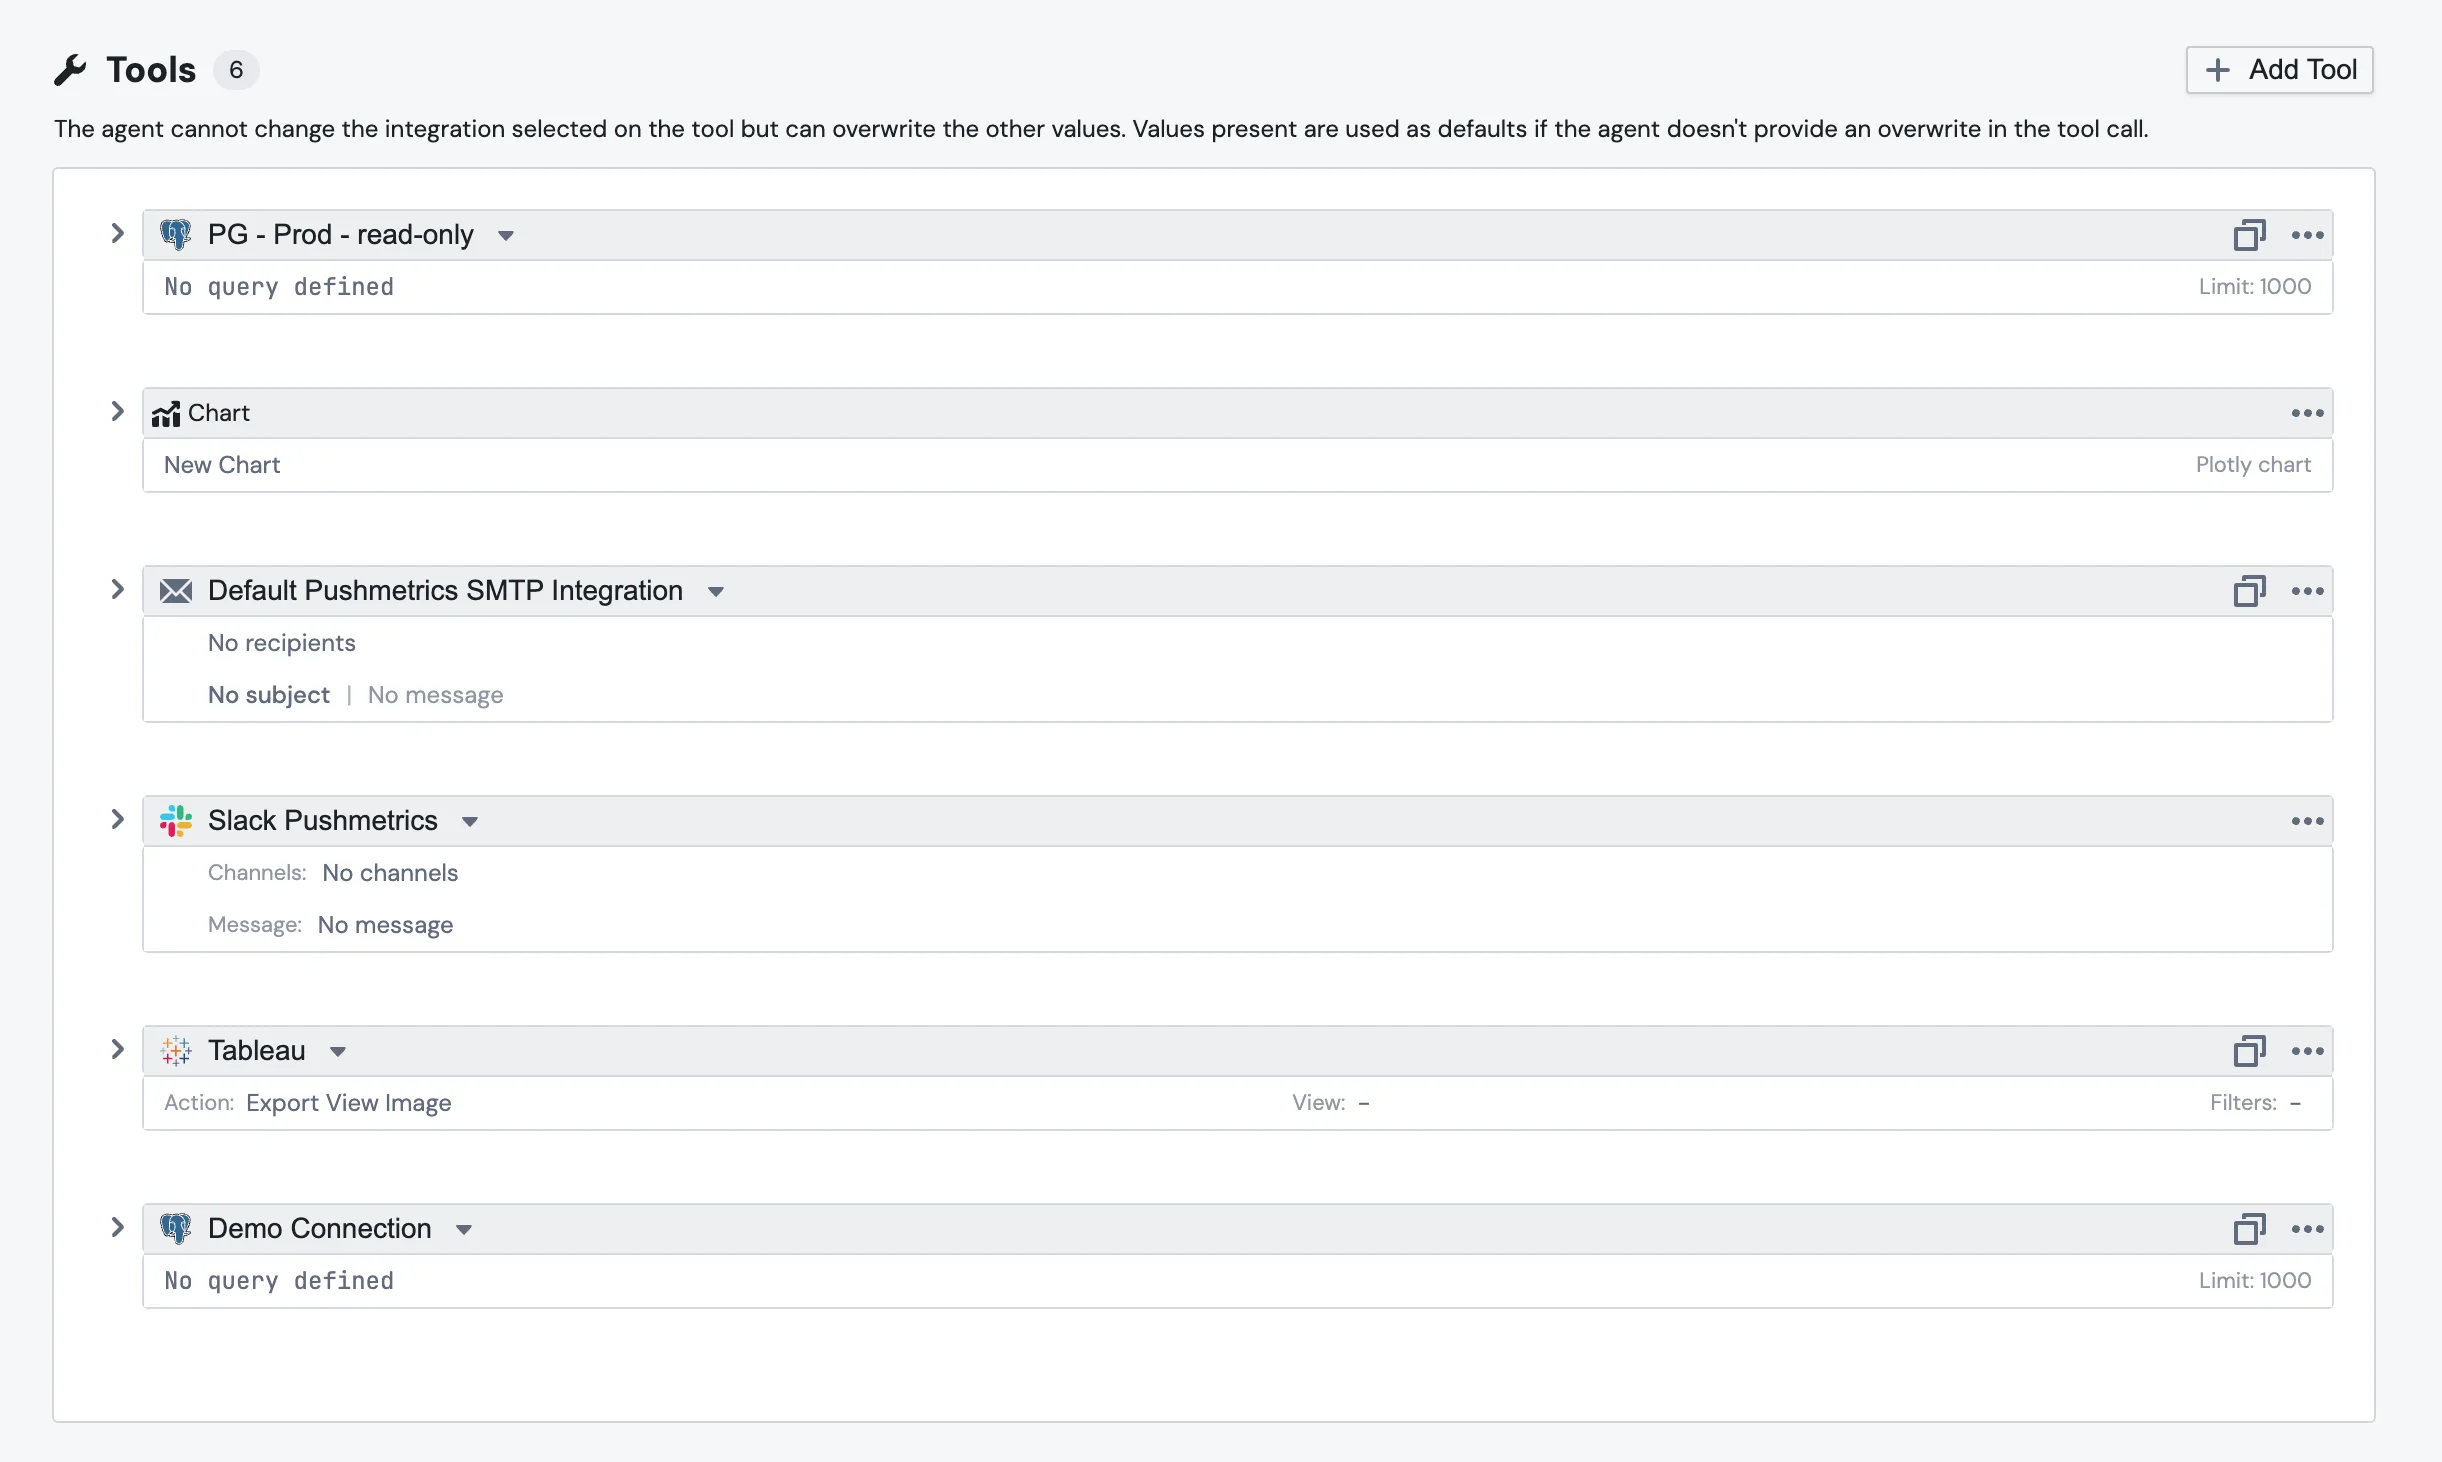
Things you can attach:
- SQL block so the agent can run queries against your databases. Works with anything you've connected: PostgreSQL, BigQuery, MySQL, Snowflake, Redshift, and the rest.
- SMTP for sending email.
- Chart for Plotly charts.
- Tableau Viewer for searching workbooks and exporting views.
- Slack for posting to channels.
Each card shows the defaults. SQL tools show the current query and row limit; email tools show the To/From/Subject/body; Tableau tools show the view, action, and any filters baked in.
Hit + Add Tool to add one. Pick the integration, fill in defaults, save. The three-dots menu on each card lets you duplicate or delete.
Skills
Skills sit just below Tools. A skill is a reusable markdown playbook the agent can pull into its context: "AWS Schema Querying", "Customer Health Scoring", that kind of thing. This section is where you decide which ones this agent should know about.
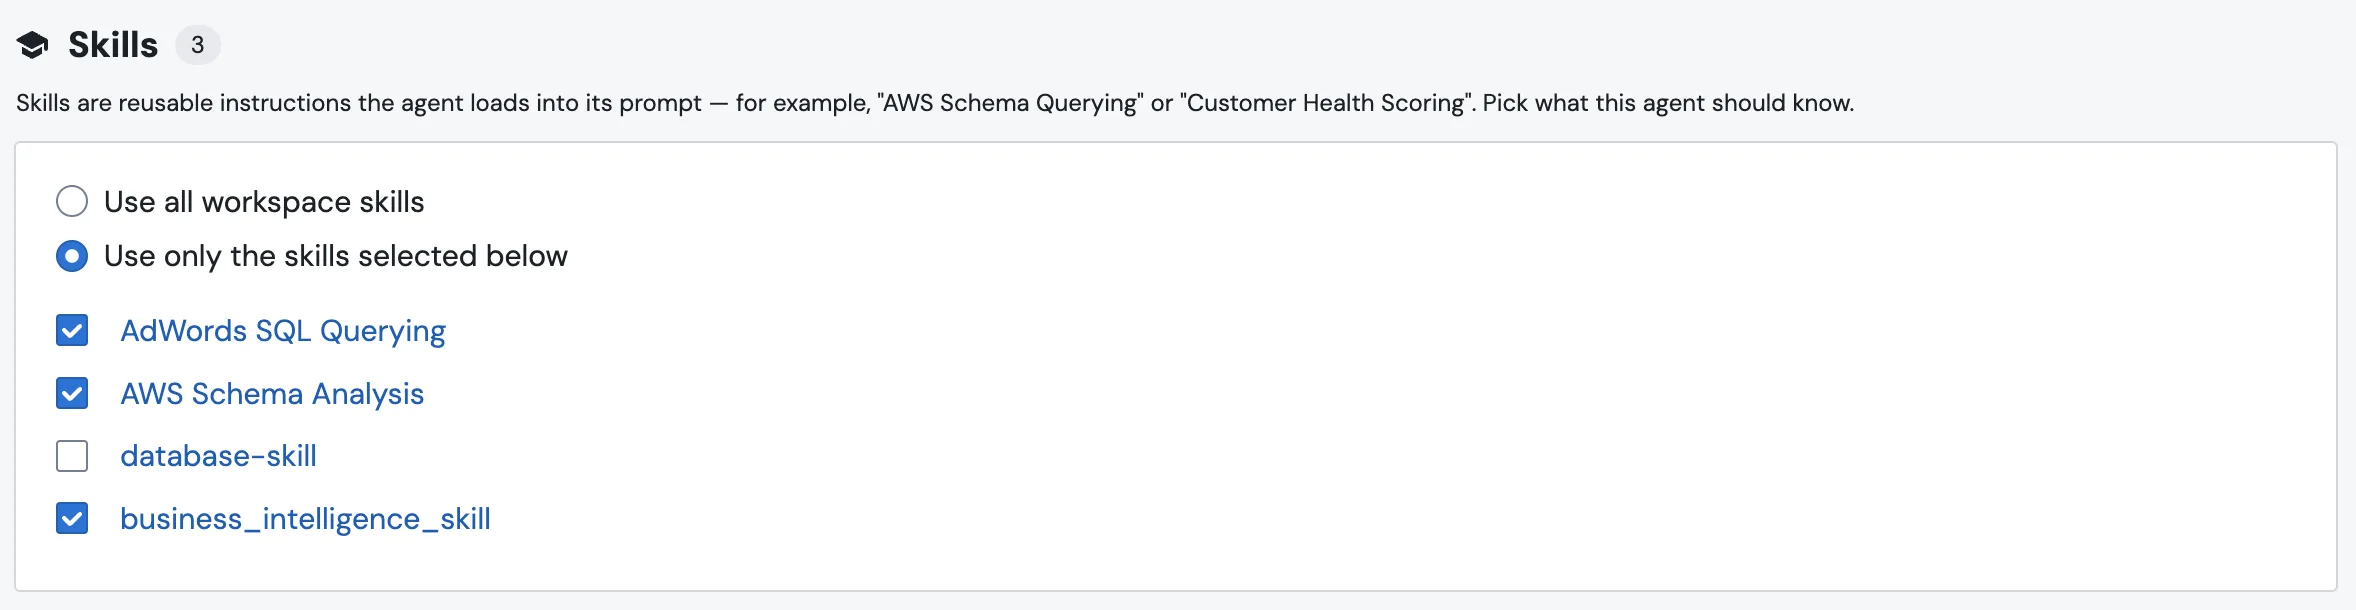
You have two modes:
The number in the Skills header is the running count of what's currently active for this agent. Both the radio toggle and the checkboxes save the moment you click. There's no separate Save button.
See Agent Skills for the deeper take on writing and managing skills.
Memories
The Memories section lists the agent's notebook: a table with Name and Last Modified columns, plus edit and delete buttons on each row.

Two ways to add a note:
- + New Memory opens the editor for a hand-written note.
- Upload .md imports an existing markdown file as a memory.
You don't have to seed anything up front. The agent can write its own as it learns. See Agent Memory for the full picture.
Usage
The Usage section at the bottom is where you check how this agent is actually being used. Toggle between 7d, 30d, and 90d in the top-right.

Five numbers up top:
- Total Spend in dollars.
- Runs: how many conversations the agent handled.
- Avg Cost / Run.
- Tokens In / Out.
- Turns: total agent turns across all runs.
Below those, a Last Run line with the cost, model, and tokens of the most recent run, so you can see what just happened.
If an agent feels expensive, this is the first place to look. Want the same numbers across every agent in the workspace? Settings → AI Capabilities → Usage.
Sharing & access
Agents share the same access model as the rest of PushMetrics. Click Share at the top of the agent page to open the panel.
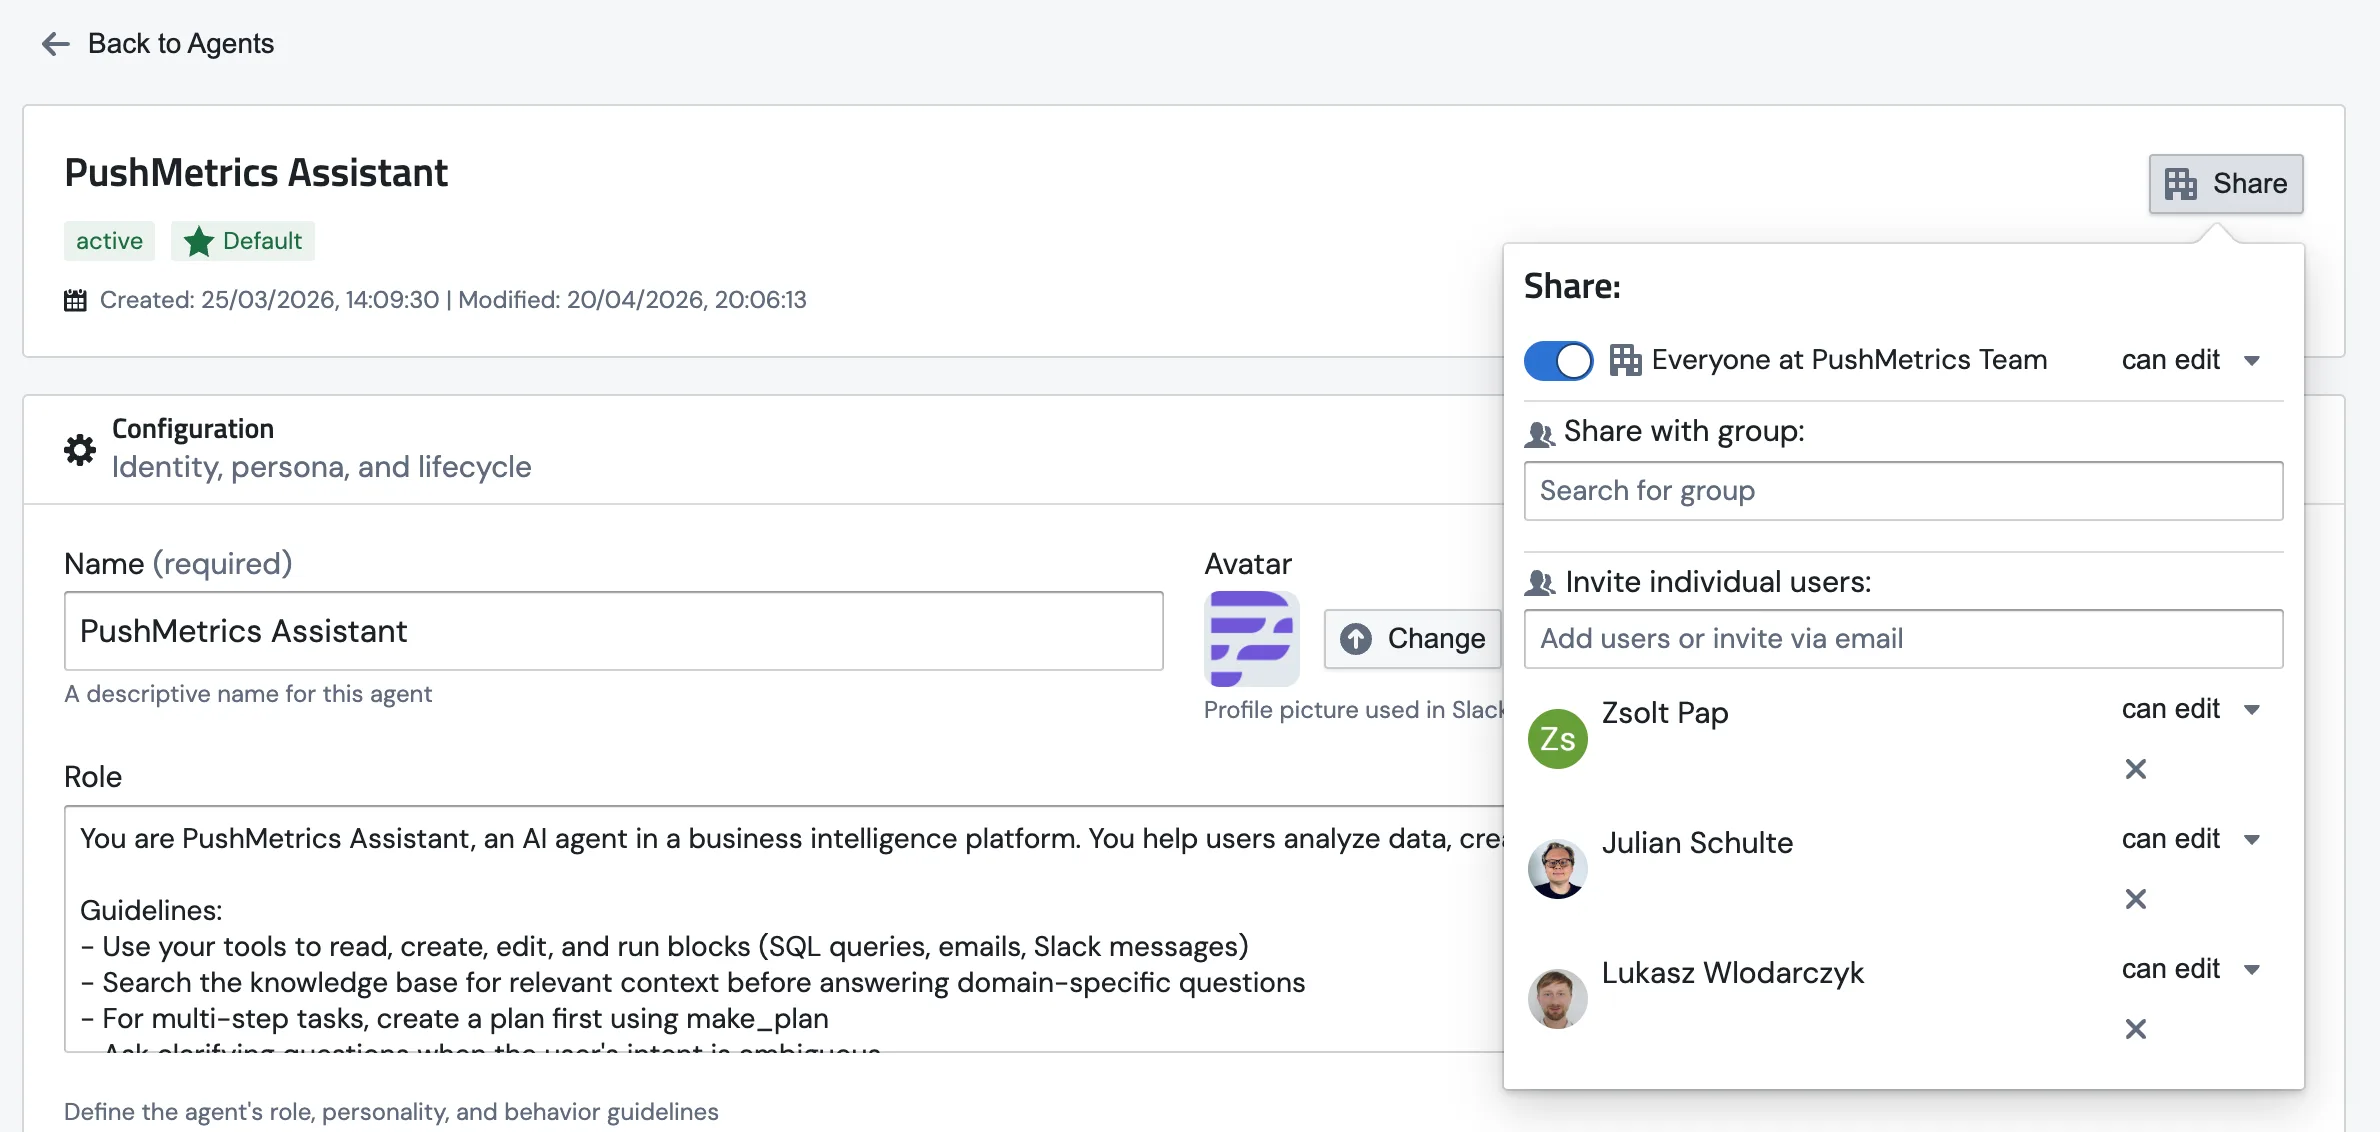
From there you can:
- Set what Everyone at your team can do: no access, view-only, or edit.
- Share with a group by typing the name of one of your workspace groups.
- Invite individual users by name or email, with view or edit rights.
- Revoke someone's access via the small × next to their name.
A few rules worth knowing:
- The person who creates an agent always gets edit access by default.
- The default agent is shared with Everyone so the whole workspace can use it.
- You can't strip the last editor. There's always one person holding the keys.