Workspaces are unique instances of PushMetrics. Each workspace has its own set of notebooks, reports, database connections, integrations, and users.
A workspace is automatically created when you first create your account.
Key Concepts
- One workspace per account by default — a workspace is created automatically when you sign up.
- Multiple workspace membership — a user can be part of multiple workspaces and switch between them freely.
- Separate data — each workspace has its own database connections, integrations, notebooks, reports, and users. Data is not shared between workspaces.
Joining Another Workspace
To join an existing workspace, ask an admin of that workspace to invite you using the same email address as your existing PushMetrics account. Once invited, the new workspace will appear in your workspace switcher and you can access it with your existing login.
You do not need to create a new account — access is added to your existing account automatically.
Switching Between Workspaces
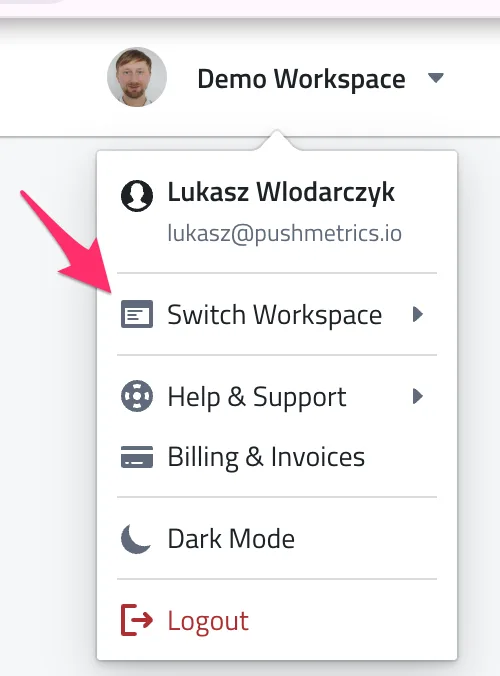
If you are a member of multiple workspaces, you can switch between them using the workspace switcher in the top navigation. Select the workspace you want to work in, and PushMetrics will load that workspace's content.
Workspace Settings
Workspace admins can manage the following settings:
- Workspace name — update the display name of the workspace.
- User management — invite, remove, and manage user roles. See User Management for details.
- Database connections — configure database connections available to all users in the workspace. See Connecting to Databases.
- Integrations — set up Slack, SMTP, Google Drive, and other integrations for the workspace.
- Billing — manage your subscription and billing details. See Billing.
Creating Additional Workspaces
Workspace admins can create additional workspaces straight from the app, so there's no need to contact us. This comes in handy when you want a separate space for a different team, client, or project, with its own data, integrations, and members.
Admins only. The Create workspace option is available to workspace admins. If you don't see it, ask an admin of your current workspace to create the new workspace, or to make you an admin.
Step 1: Open the workspace switcher
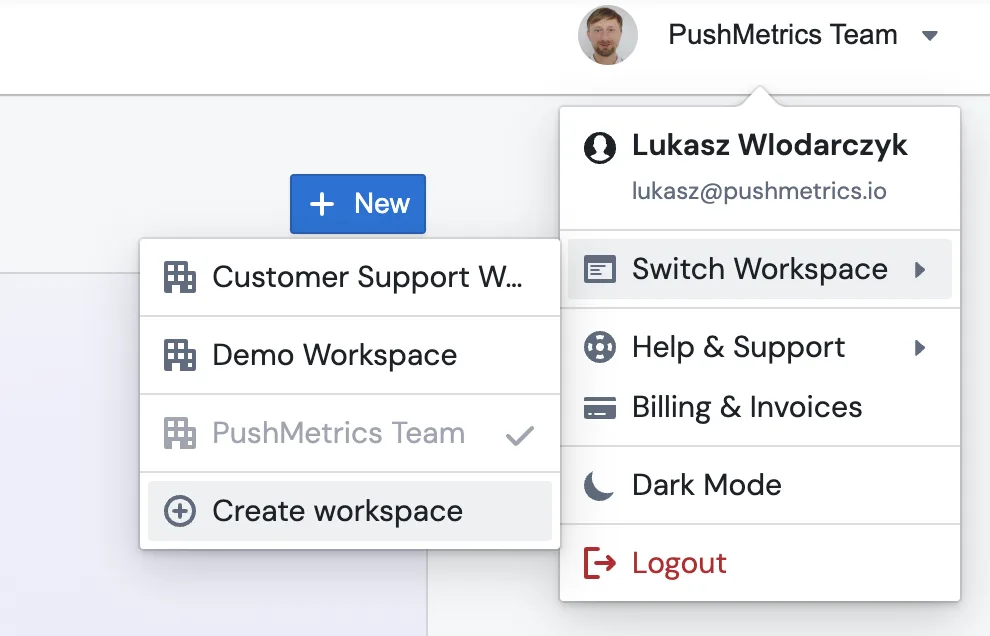
Click your profile menu in the top-right corner and hover over Switch Workspace. At the bottom of the list of your workspaces, click Create workspace.
Step 2: Name the workspace
Type a workspace name, for example Marketing Analytics, and click Create. The name is the only thing you need to enter, and you can change it later in workspace settings.

What happens next
- You become the admin of the new workspace.
- PushMetrics switches you into it right away, so you can start setting it up.
- The new workspace starts empty. It has no notebooks, reports, database connections, or integrations from your other workspaces, and data is never shared between workspaces.
From here you can connect databases, set up integrations, and invite teammates. Teammates who already have a PushMetrics account just get access added to their existing login, and they can reach the new workspace from their own workspace switcher.