The Azure Blob Storage integration lets you upload files from PushMetrics Reports to a container in your Azure Storage account. You can use it to automatically deliver report outputs—such as CSV exports, charts, or merged PDFs—to Azure Blob Storage on a schedule or via webhook.
What you can do with the integration
- Upload report outputs to Azure Blob Storage — When a Report runs, selected contents (e.g. SQL results as CSV, chart images, Tableau exports) are uploaded to your configured container.
- Set a blob path (key) — You choose the path/prefix under which files are stored in the container (e.g.
reports/2025/monthly-summary.csv). - Merge PDFs or CSVs — You can combine multiple report attachments into a single PDF or CSV before upload.
- Use in Reports — Add Azure Blob Storage as a destination alongside Email, Slack, or other destinations. Reports can have multiple destinations.
For an overview of Reports and destinations, see How Reports Work.
Prerequisites
- An Azure account with a Storage account and at least one Blob Storage container.
- The Storage Account Name, Container Name, and an Account Access Key from that storage account (see below).
Setting up the integration
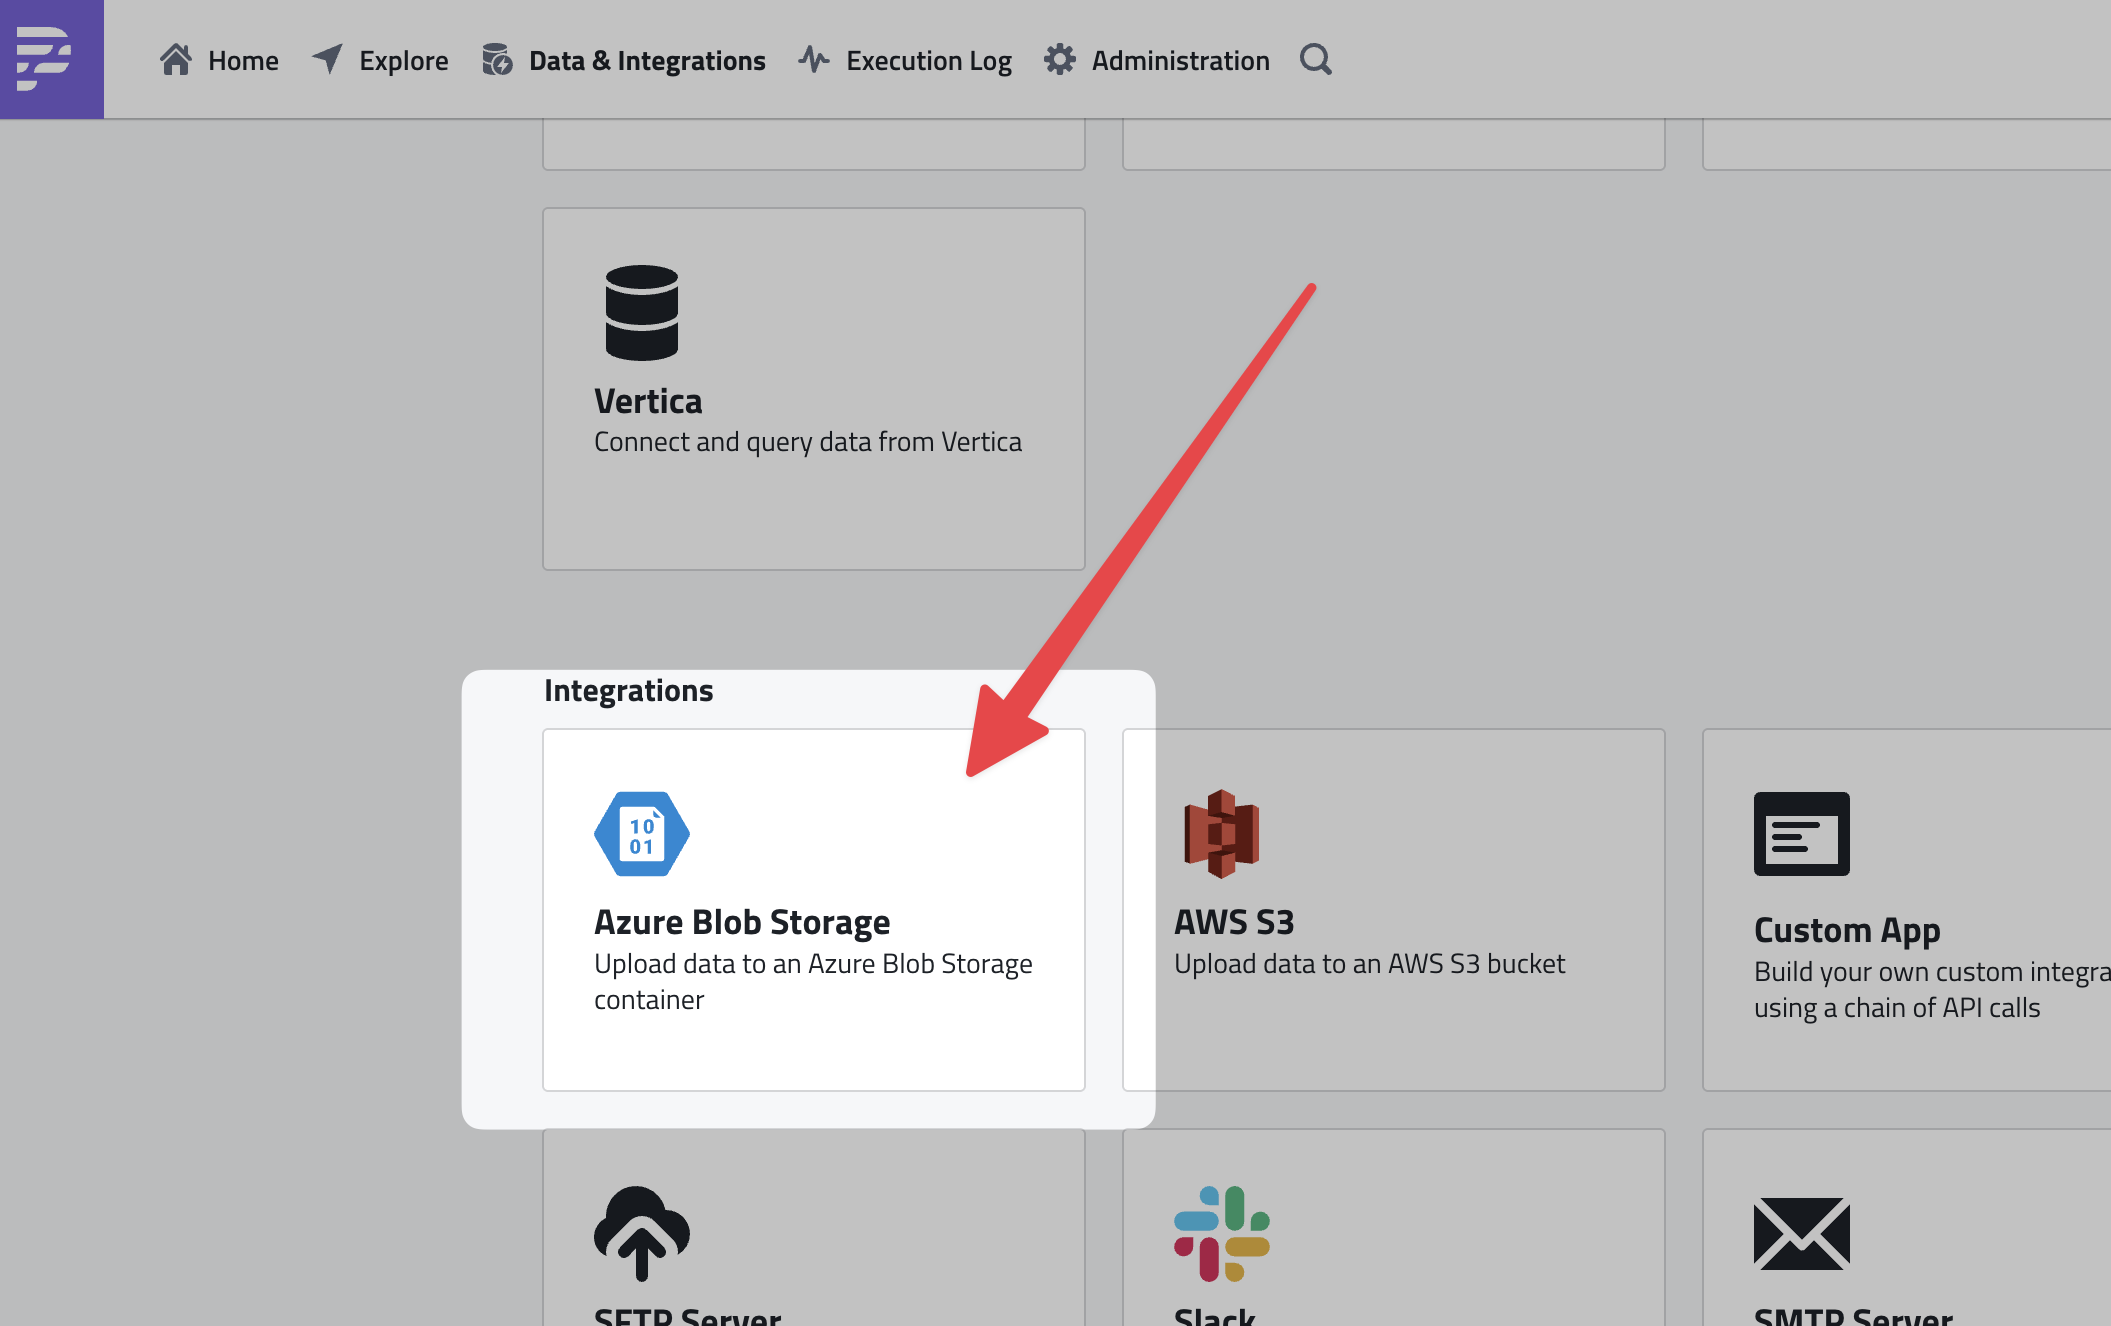
- In PushMetrics, go to Data & Integrations and open the Integrations tab.
- Click the Azure Blob Storage card to add a new integration (or go directly to Azure Blob Storage setup).
- In the Connect to Azure Blob Storage dialog, fill in the required fields and click Test Azure Storage Blob Integration to verify the connection, then complete the wizard (e.g. Next and Sharing Settings if shown).
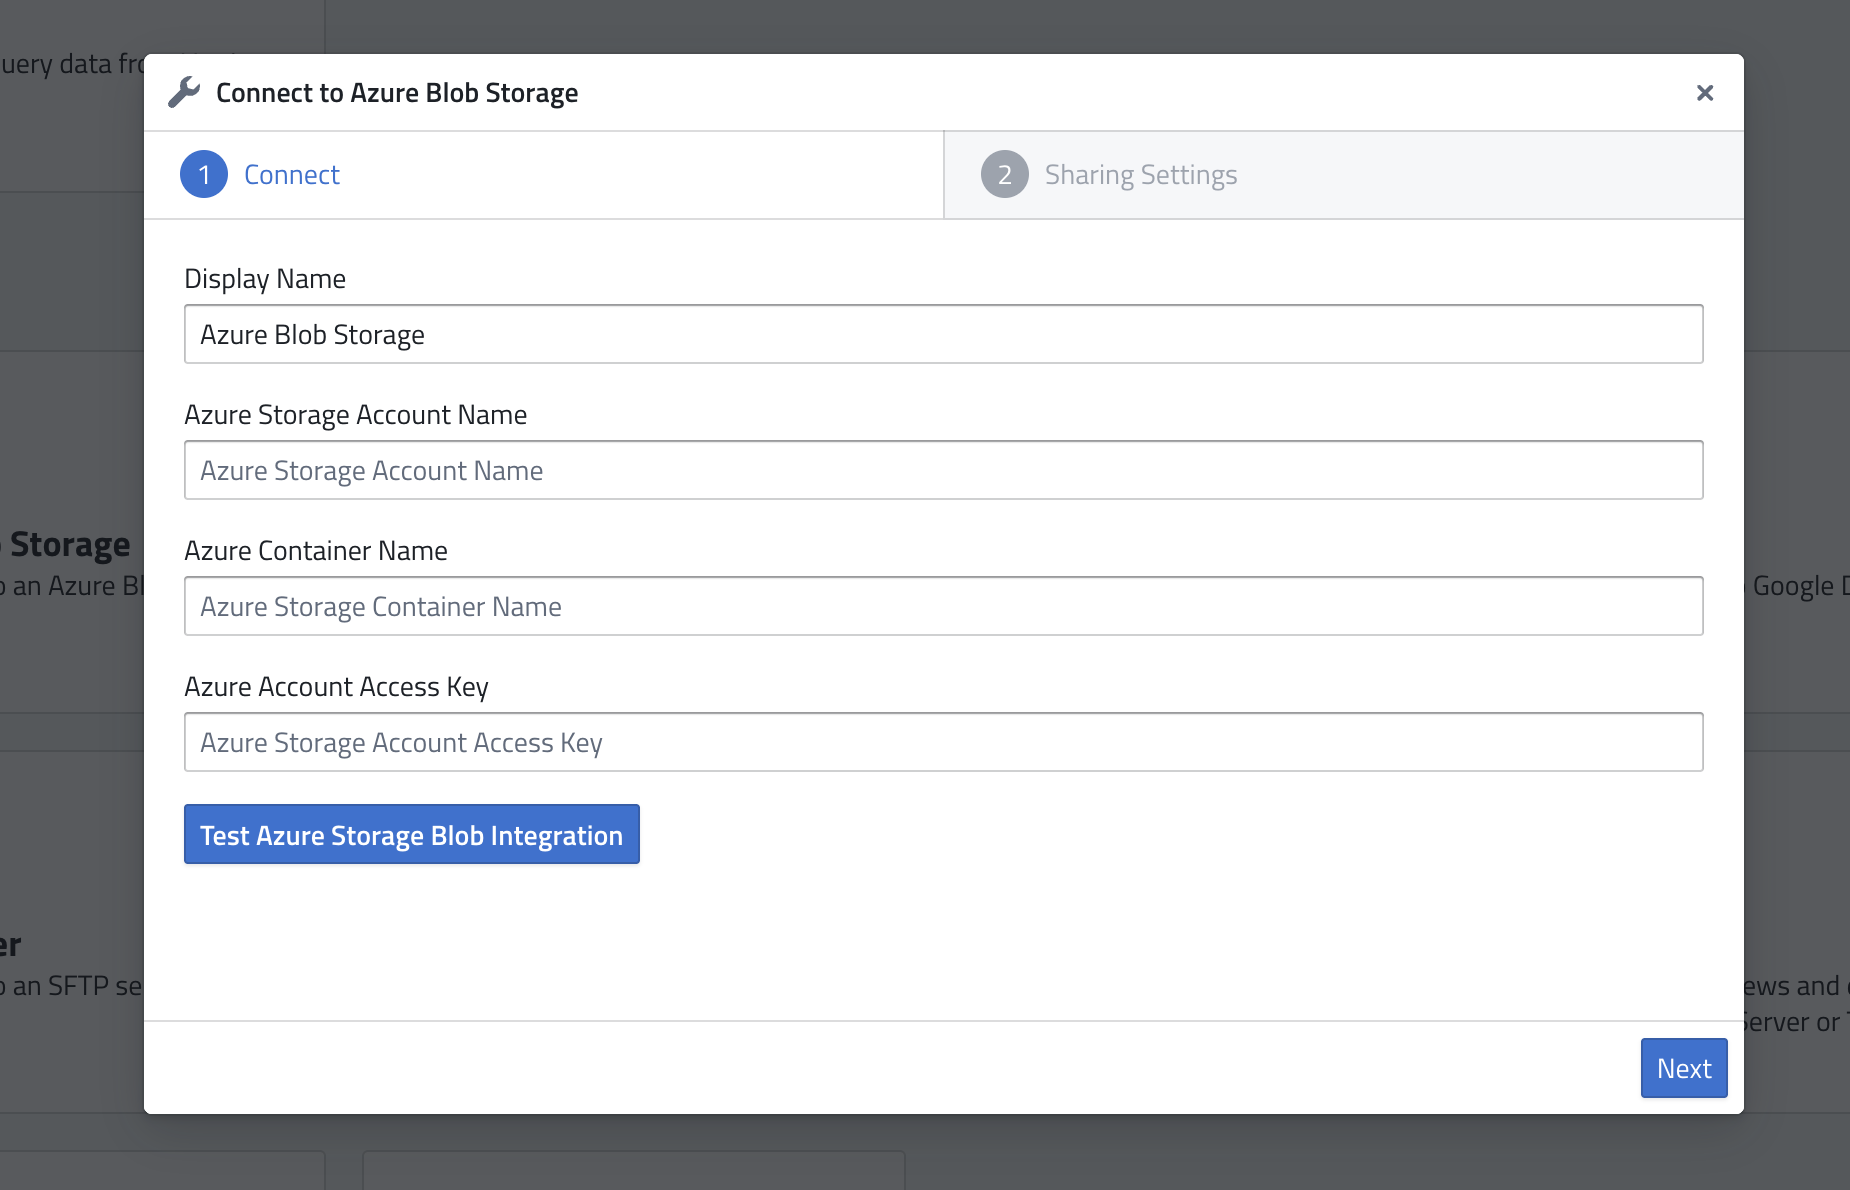
Information required
| Field | Description | Where to find it in Azure |
|---|---|---|
| Display Name | A friendly name for this integration in PushMetrics (e.g. "Production Blob" or "Reports Container"). | Choose any name. |
| Azure Storage Account Name | The name of your storage account. | Azure Portal → Storage accounts → your account → Overview → Storage account name. |
| Azure Container Name | The name of the blob container where files will be uploaded. | Storage account → Containers (under Data storage). Create a container if needed. |
| Azure Account Access Key | A key that grants access to the storage account. | Storage account → Access keys (under Security + networking) → Key1 or Key2 → Key value. Copy the key and store it securely. |
Microsoft documentation: View account keys, Create a container.
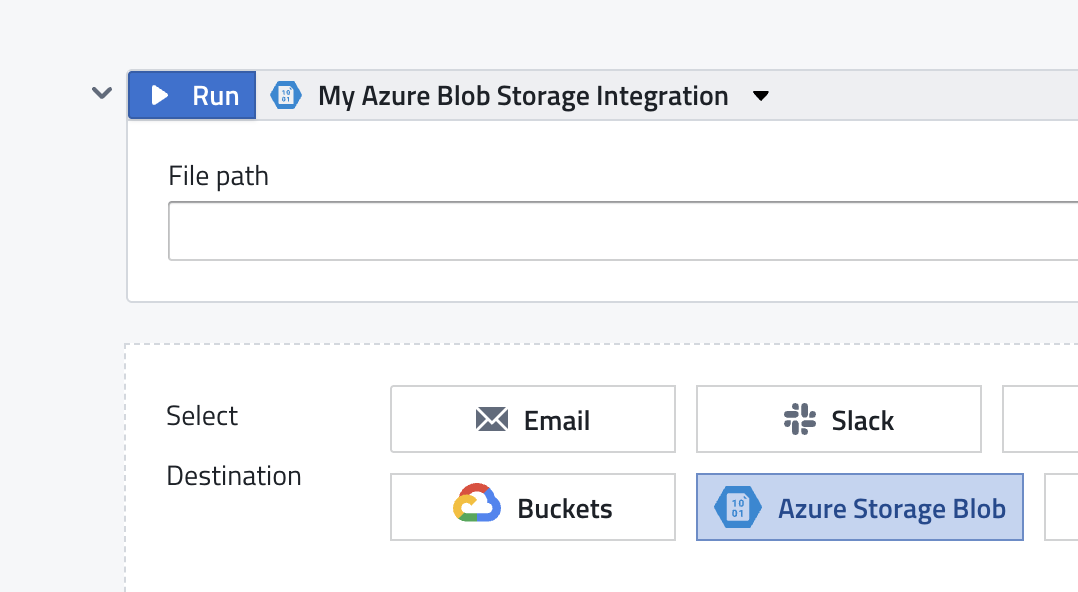
Adding Azure Blob Storage as a report destination
- Open a Report (create one at Reports or New Report, or edit an existing report).
- In the report settings, find Select Destination and click Azure Storage Blob so it is selected (highlighted).
- In the Azure Blob Storage destination block that appears:
- Integration — Select the Azure Blob Storage integration you configured (e.g. "My Azure Blob Storage Integration").
- File path — Enter the path (blob key) where the file(s) will be stored in the container (e.g.
reports/daily-summary.csvor a path with a date). You can use Jinja2 for dynamic paths (e.g.reports/{{ utils.ds }}.csv).
- Save the report and run it or set a schedule/webhook so it runs automatically.
Managing the integration
- Edit — In Data & Integrations → Integrations tab, find your Azure Blob Storage integration and use the edit action to change the display name or connection details. If you change the account key, re-enter it and test again.
- Delete — Use the delete action for the integration in the Integrations list. Reports that used this destination will need to be updated to use another integration or destination.
Related documentation
- How Reports Work — Overview of Reports and destinations.
- Getting Started - Your First Report — Step-by-step report creation.
- Azure Storage documentation — Blob storage concepts and management.